How to install V151 Renault CAN Clip Software?
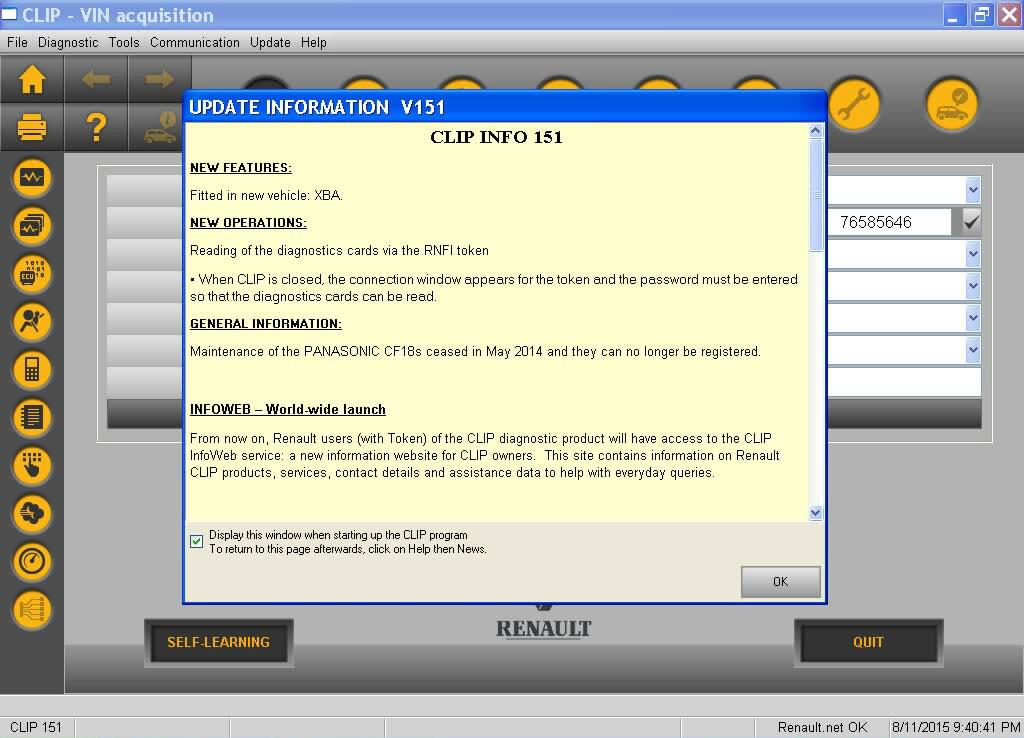
Renault CAN Clip Diagnostic Tool interface has recently released to V151 (Aug. 12th). The newest version adds new vehicle XBA model.
Software version: V151
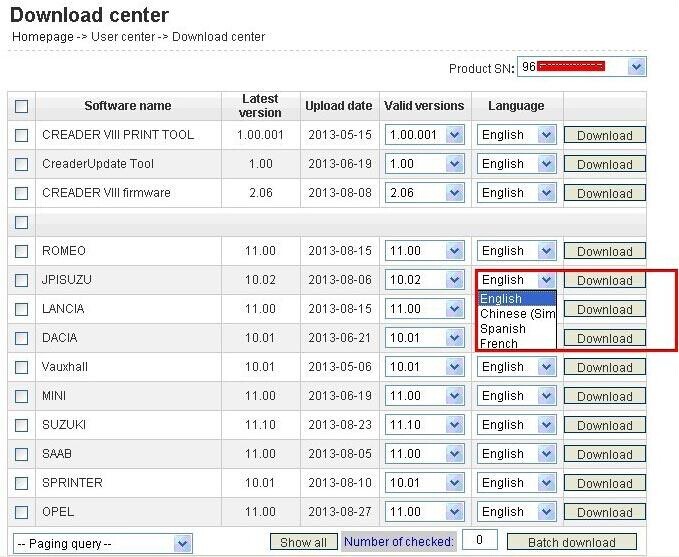
Multi-Language: English, German, Brazil, Danish, Spanish, Finnish, French, Italian, Norwegian, Dutch, Portuguese, Romania, Swedish
Operating system: Windows XP SP2/SP3
How to update Renault CAN Clip software to V151?
1) For those who need to update previous version V145, V149 to V151, please order Item No: SP19-S Nouveau Logiciel de Renault Can Clip V151 in our website and install it to run an upgrade.
2) For those who want to buy new V151 Renault clip interface, you need to purchase SP19-S V151 software as well.
How to install Renault CAN Clip V151 diagnostic software?
Main steps:
1) Install CAN CLIP Patch & Driver
2) Register & Crack Renault CLIP
3) Connect Renault Can Clip interface
4) Computer Test
5) Diagnose vehicles
Detail instructions:
1) Install Patch & Driver
Insert CD to computer
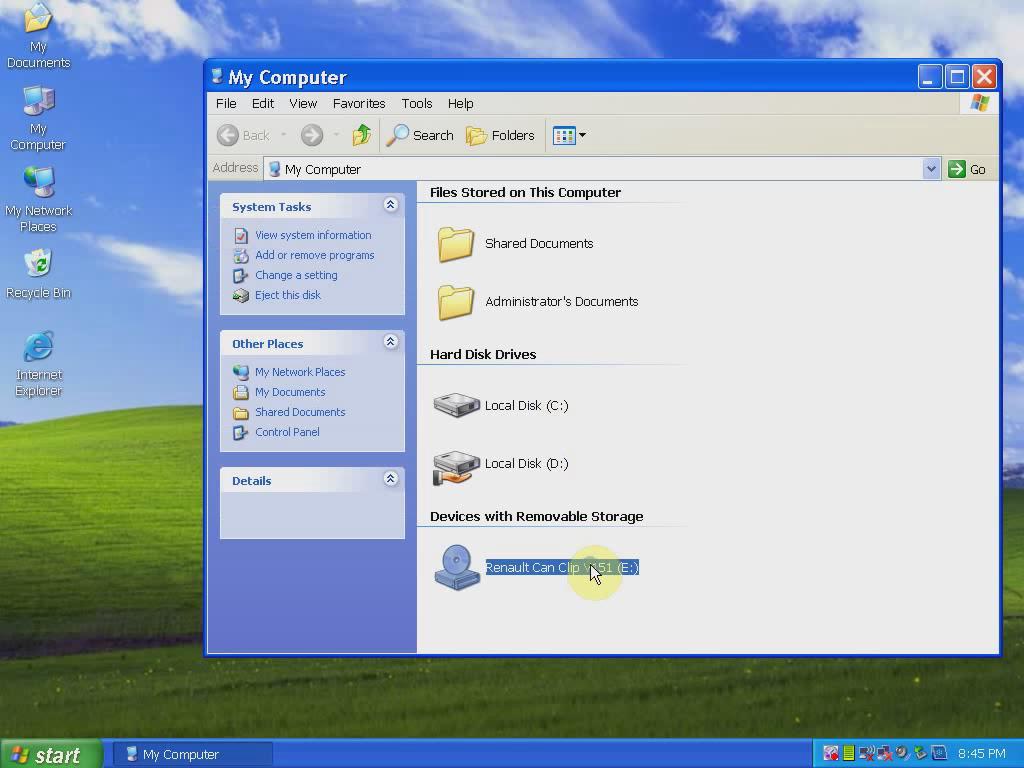
Open My Computer
Open Renault CAN CLIP V151 (E:) DVD
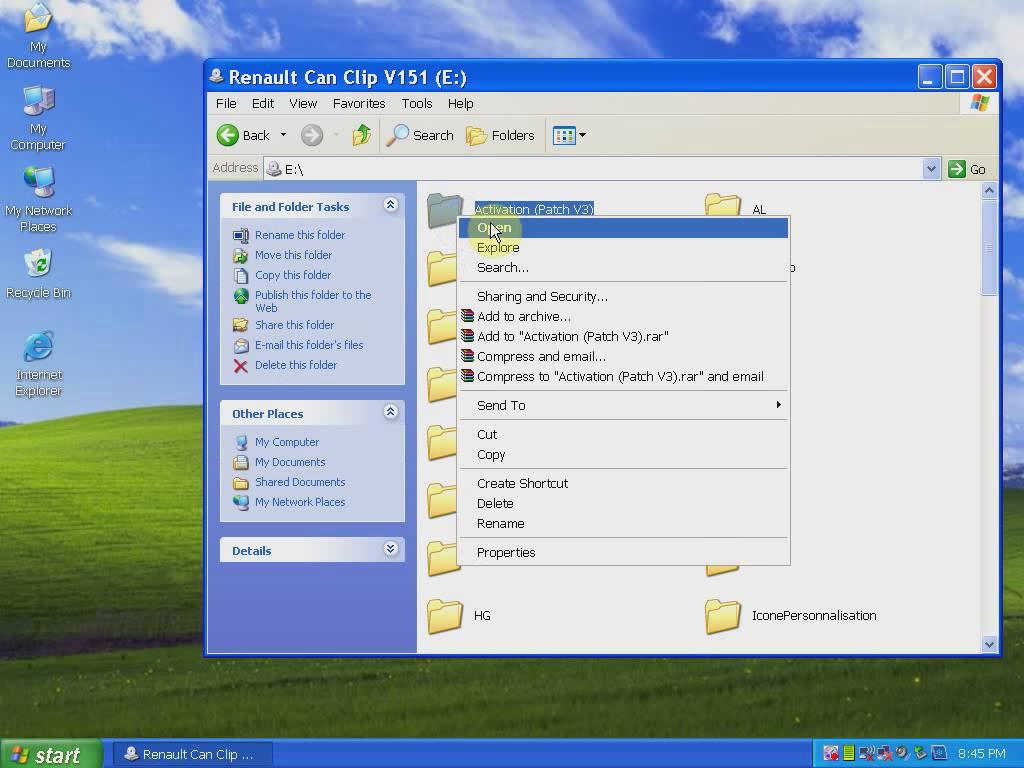
Open “Activation (Patch V3)” folder.
Merge “Crack Renault CLIP”.
Click Yes to accept registry editor prompt.
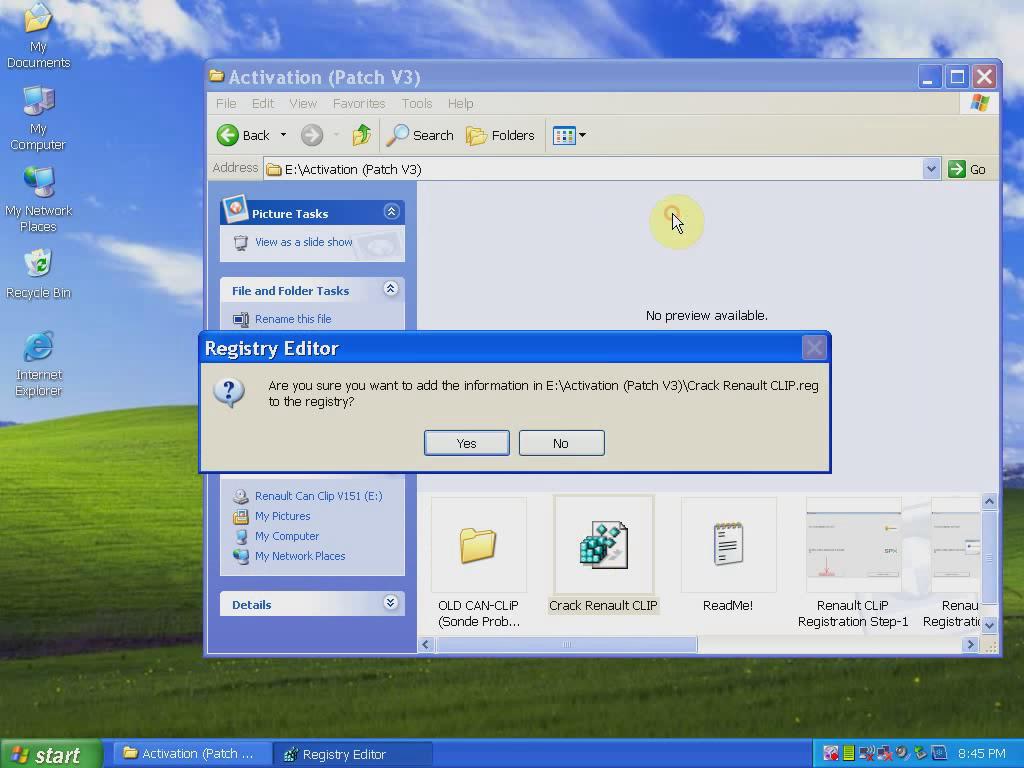
Click OK.
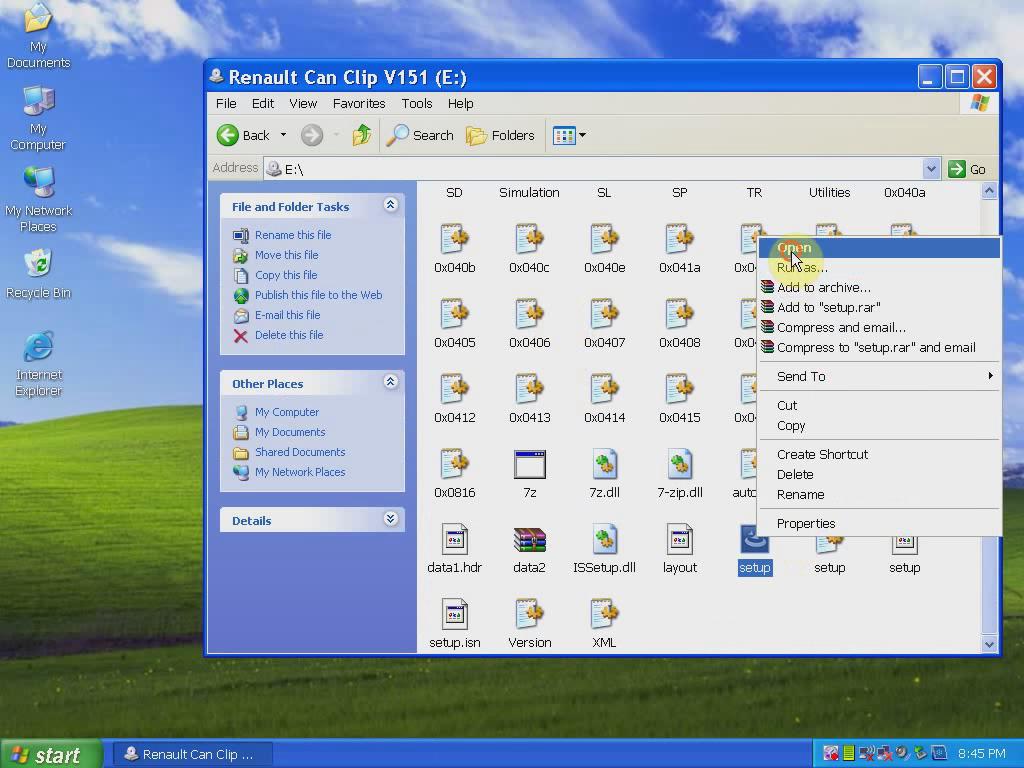
Open Setup on folder.
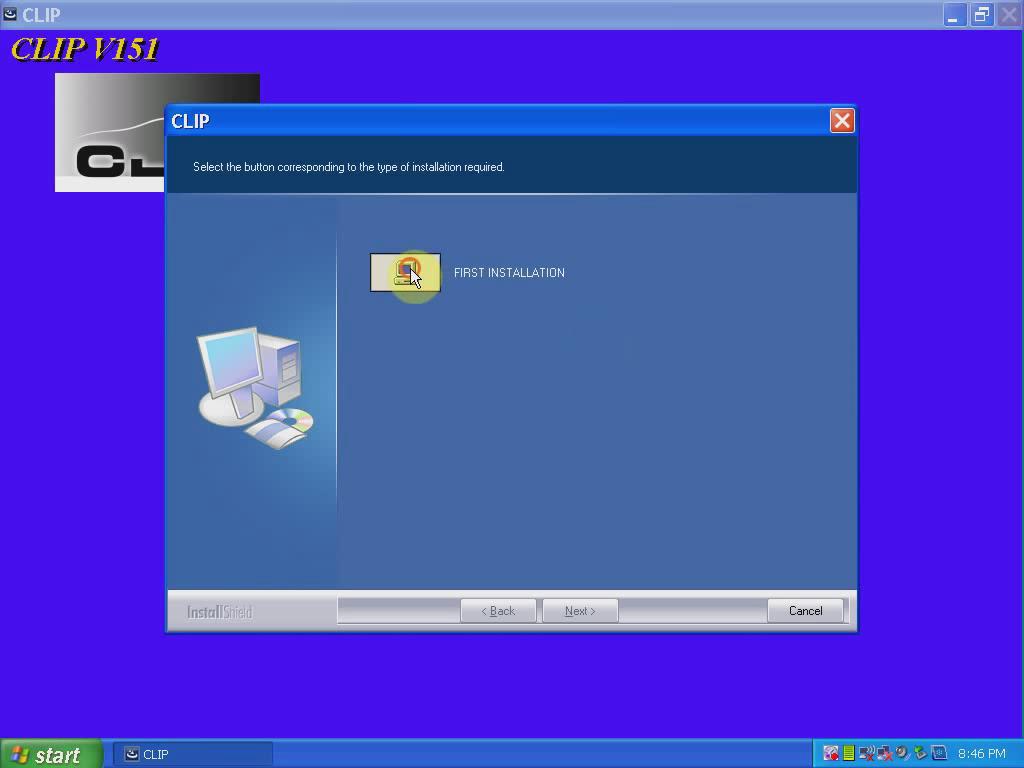
Click on FIRST INSTALLATION.
Accept license agreement.

Click Next
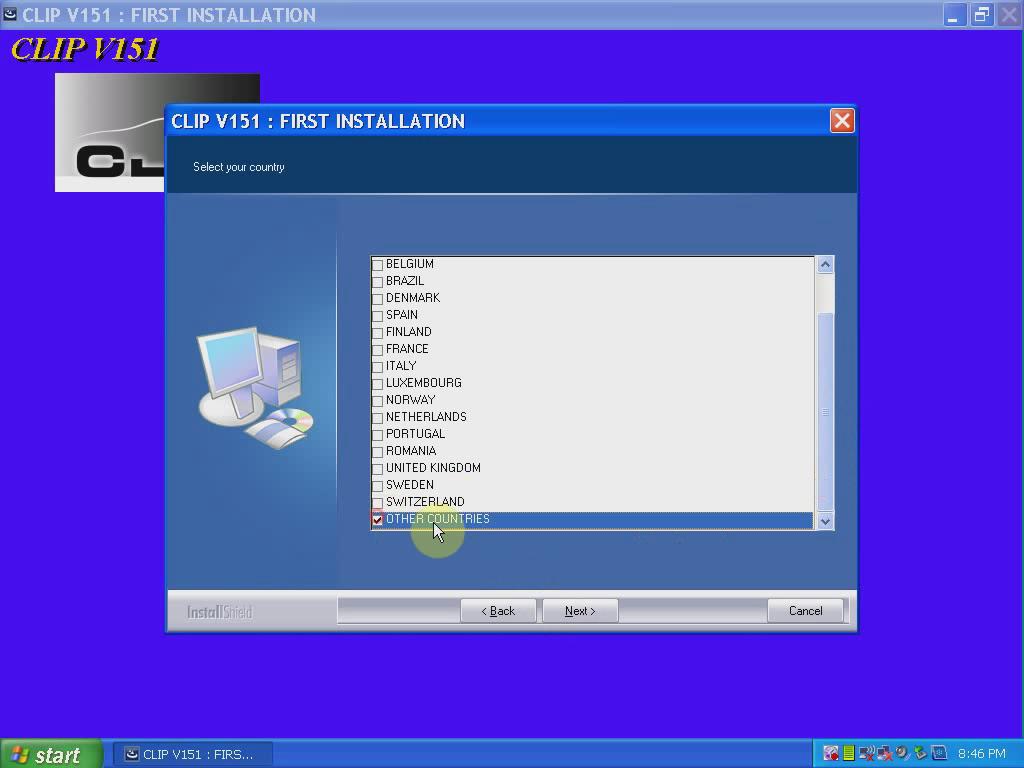
Select your country, click Next.
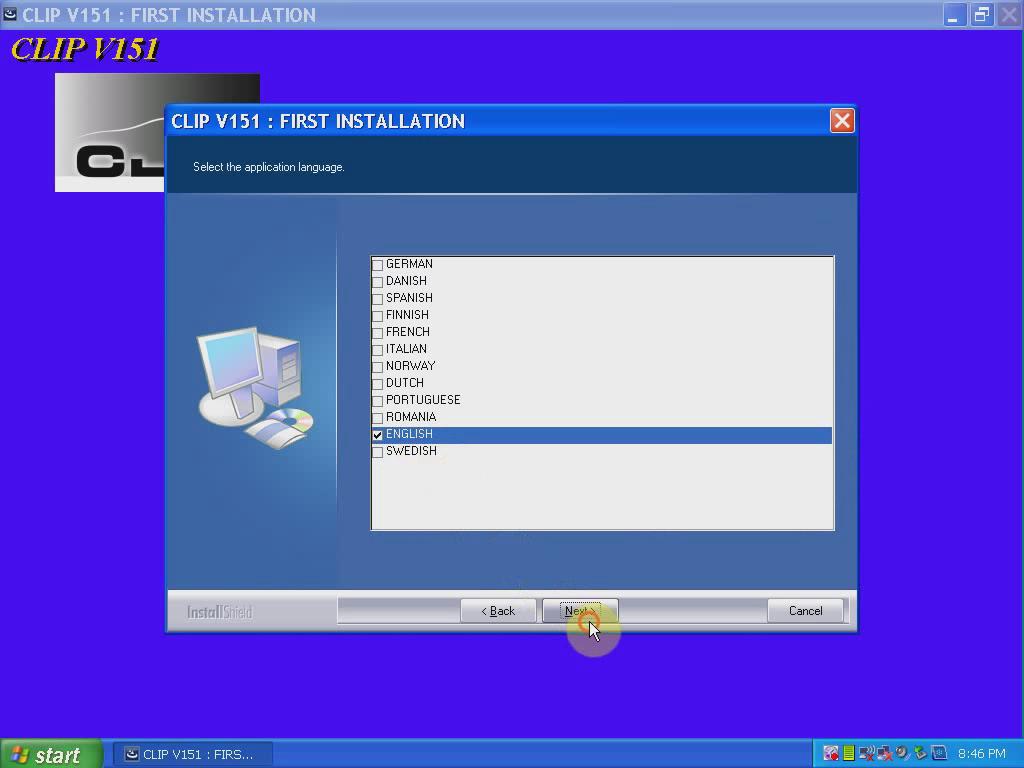
Select software language, click Next.
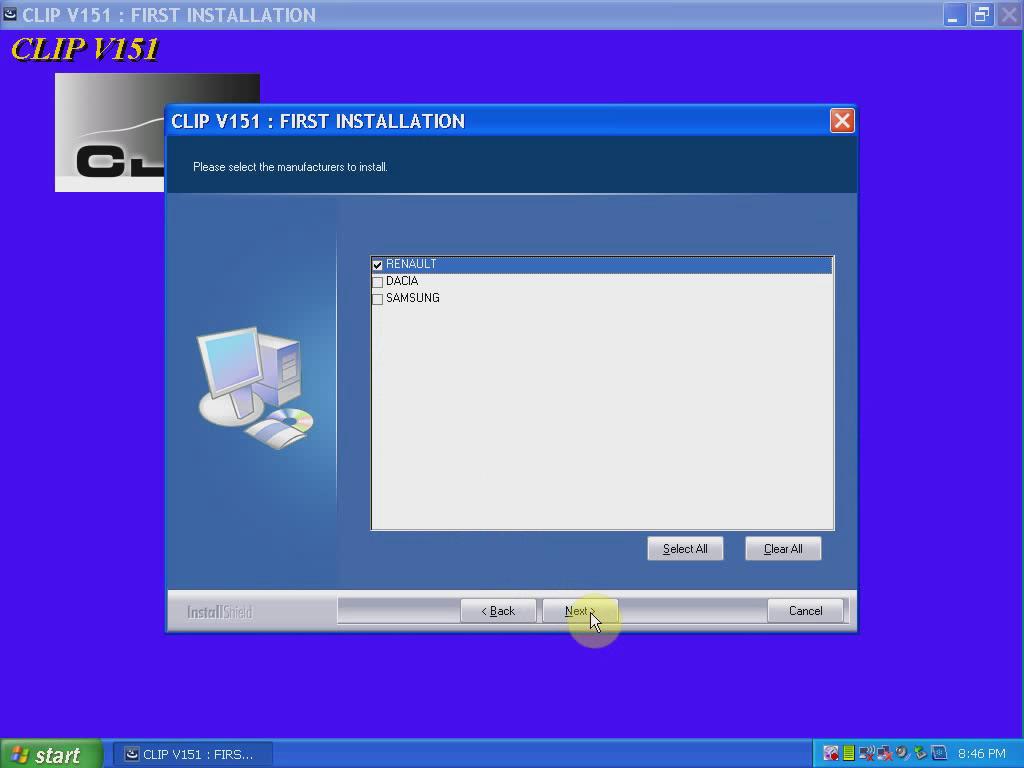
Select manufacturer to install, click Next.
Click Next
Click Next
Agree license agreement
Click Next
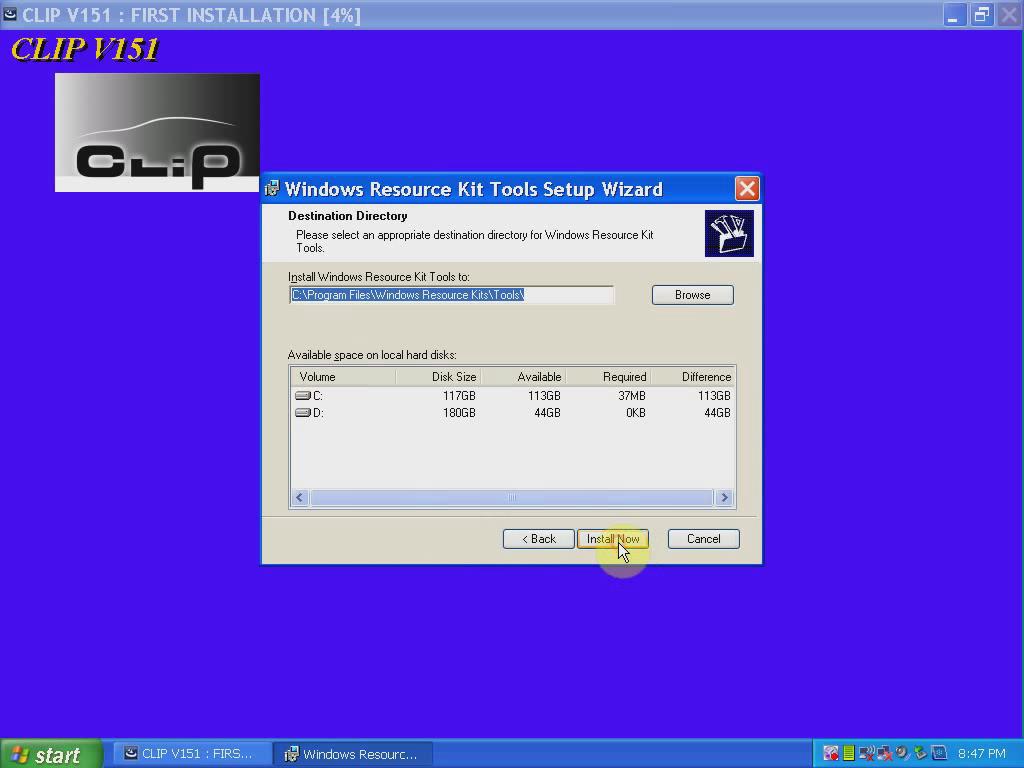
Do not change destination directory
Click “Install Now”.
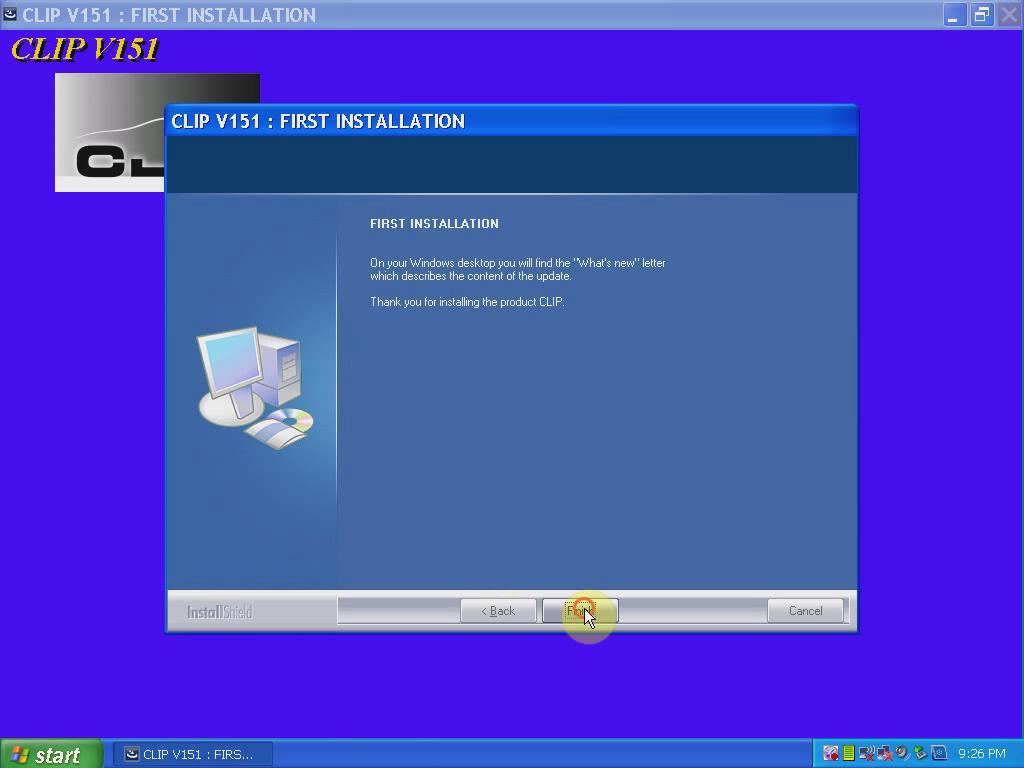
Click Finish when software setup is installed completely.
Restart the computer
2) Register & Crack Renault CAN CLIP V151
CLIP V151 FIRST INSTALLATION completed, click Finish.
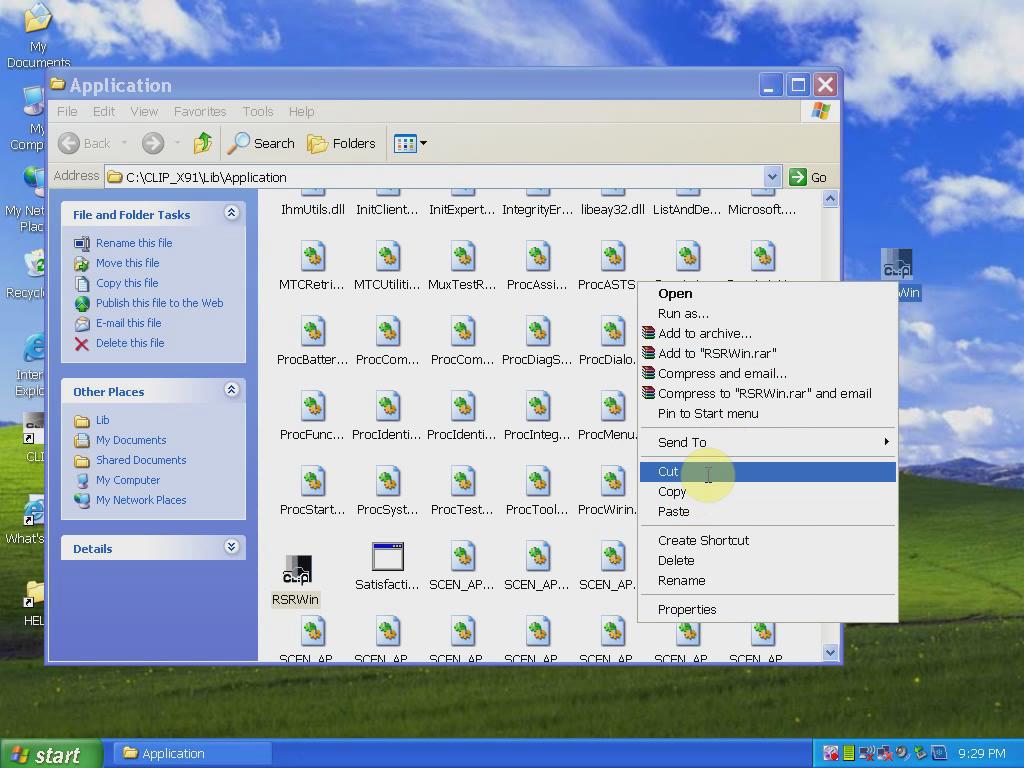
Right click CLIP software on desktop>> Find Target>> find the “RSRWin” file, cut and paste it to desktop.
Open My Computer
Open Renault CAN CLIP V151 (E:) DVD
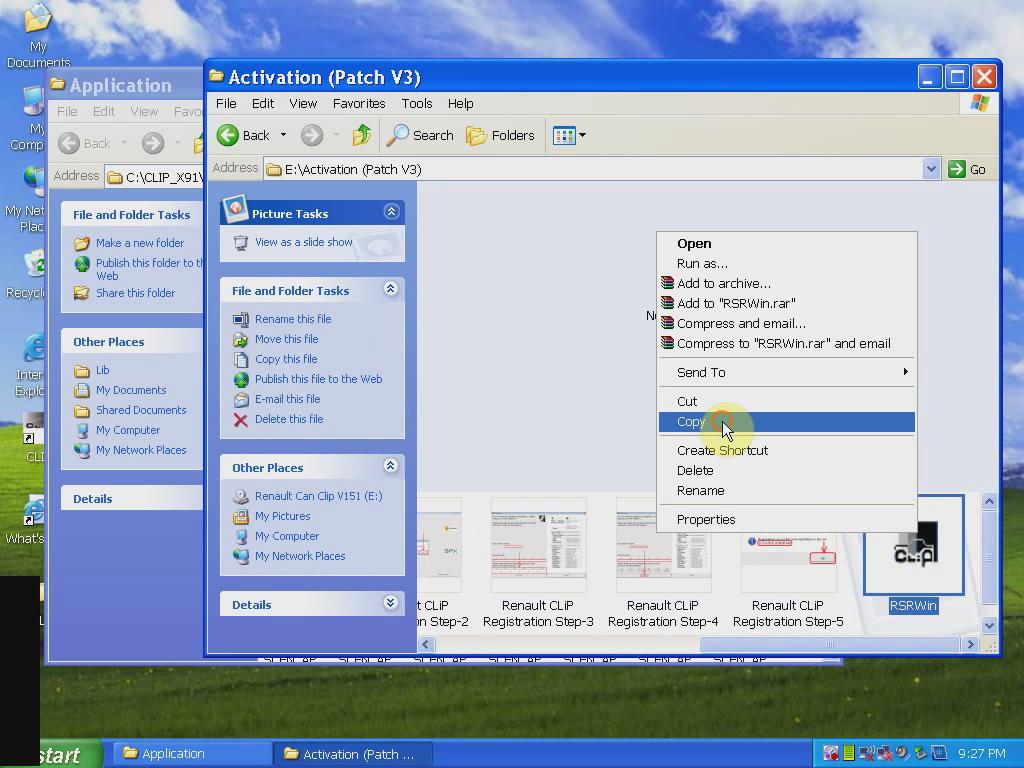
Open “Activation (Patch V3)” folder
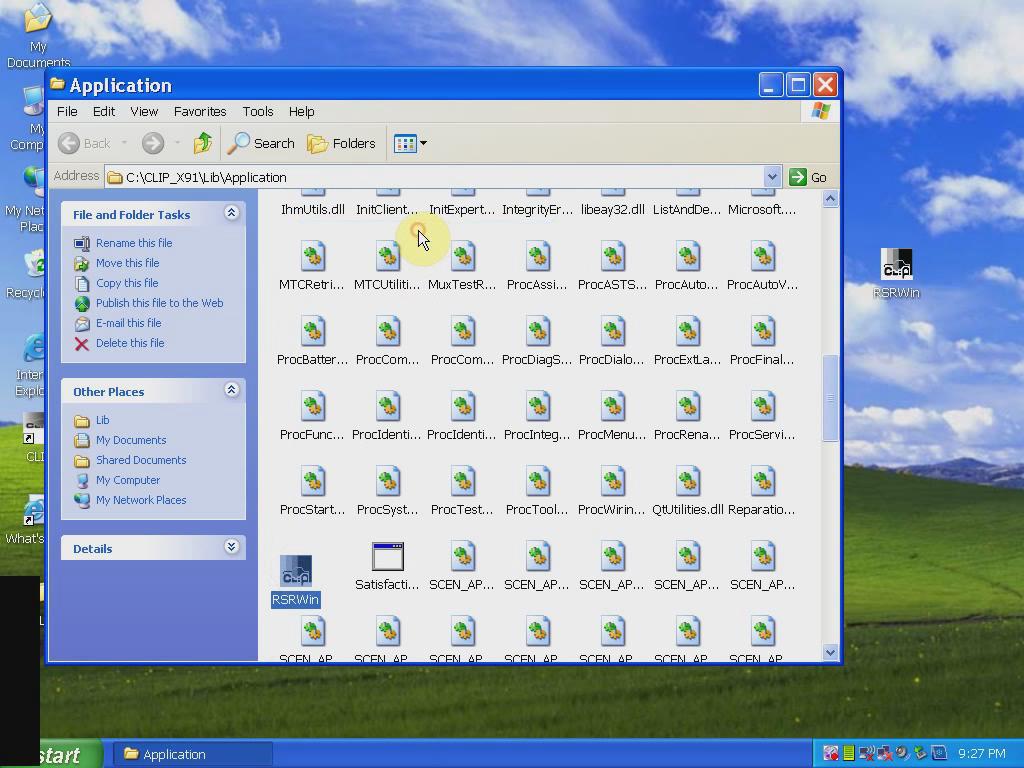
Copy “RSRWin” file and paste it to “Application” folder
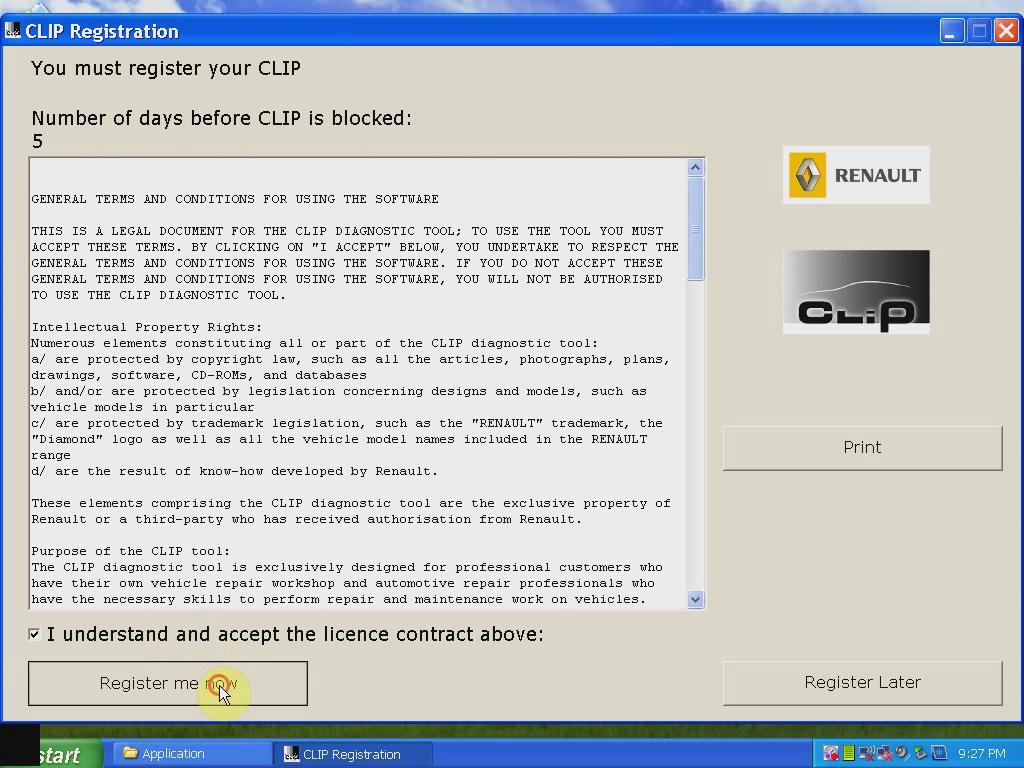
Open “RSRWin” file on Application folder
Tick “I understand and accept the license contract above”.
Then click “Register me now”.
Click OK
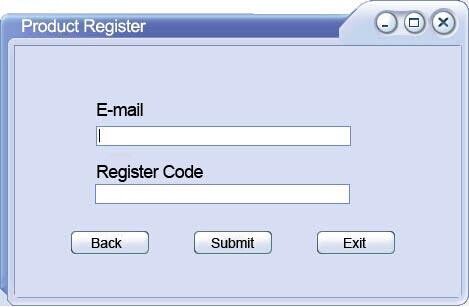
Enter register security code
Press Confirm button
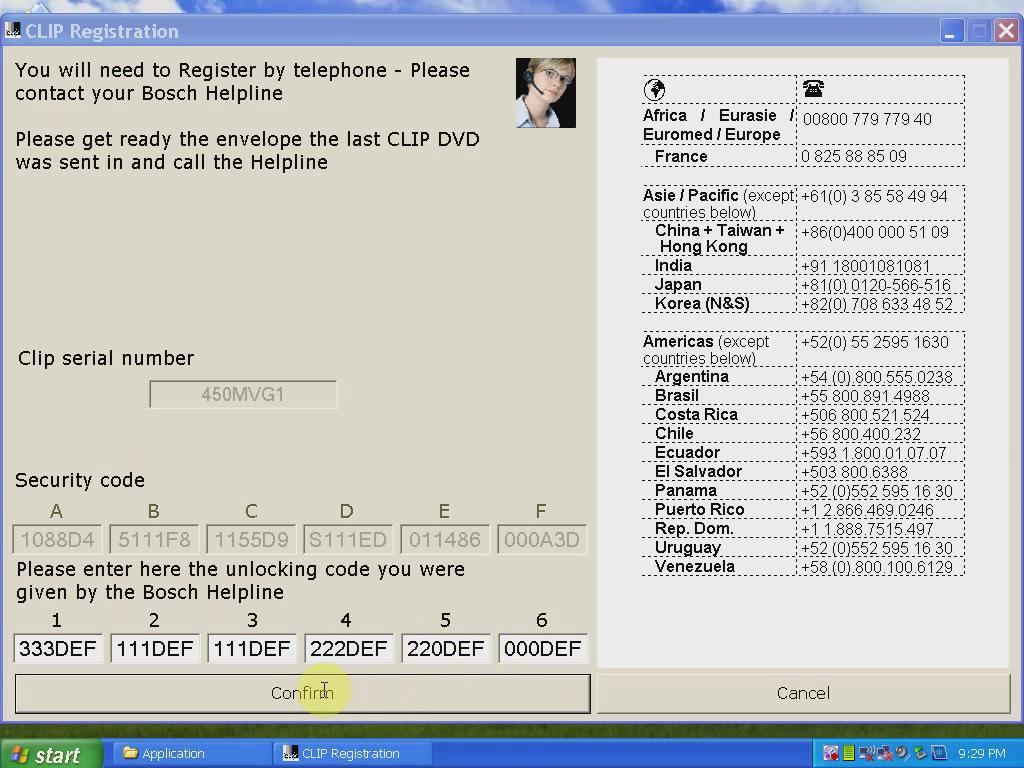
Click OK
Open Application folder
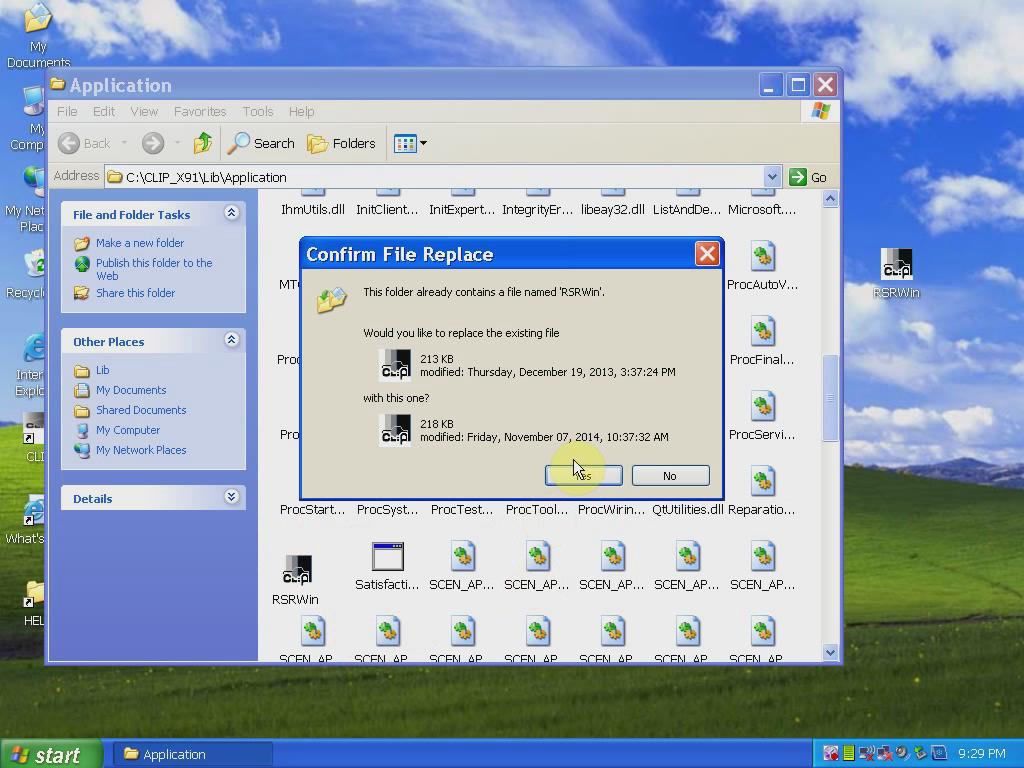
Cut “RSRWin” file from desktop and replace “RSRWin” file in Application folder
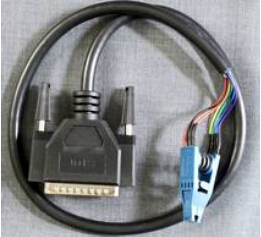
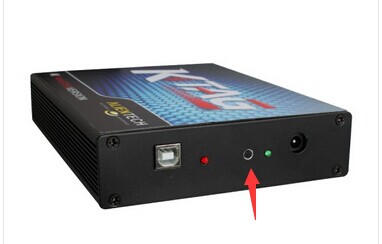
3) Connect Renault CAN Clip interface
Connect Renault CAN Clip interface with computer via COM Port
Wait the system to detect the hardware wizard
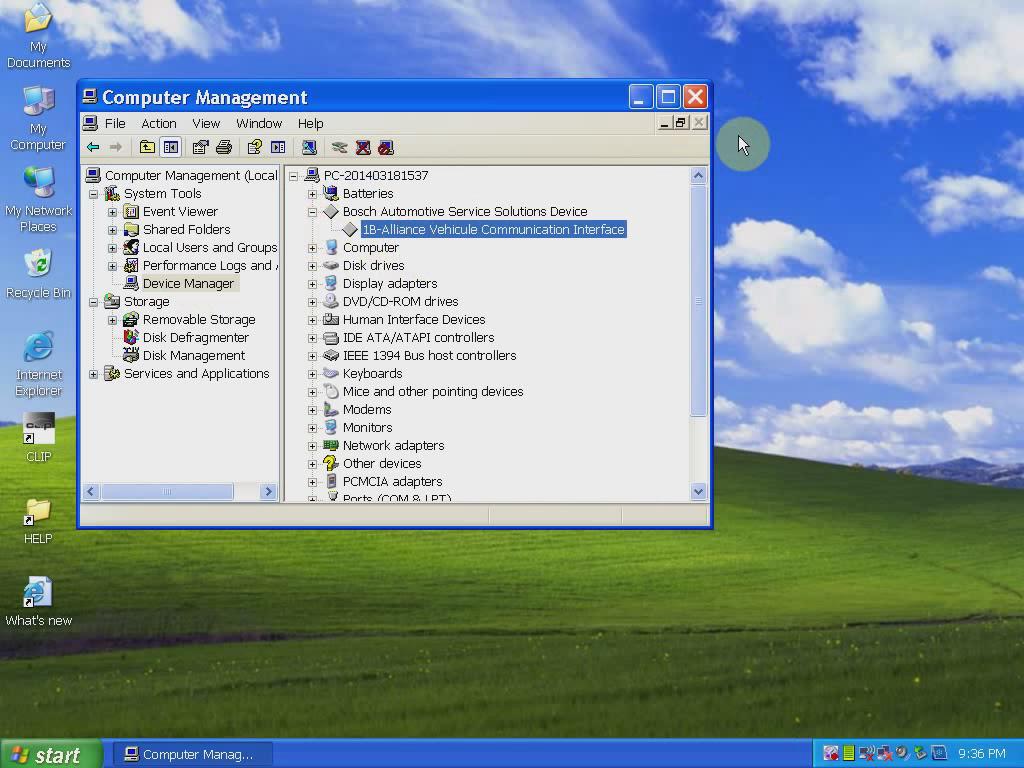
Open My Computer>>Device Manager>> Bosch Automotive Service Solutions Device>> 1B-Alliance Vehicle Communication Interface, to check well communication is built.
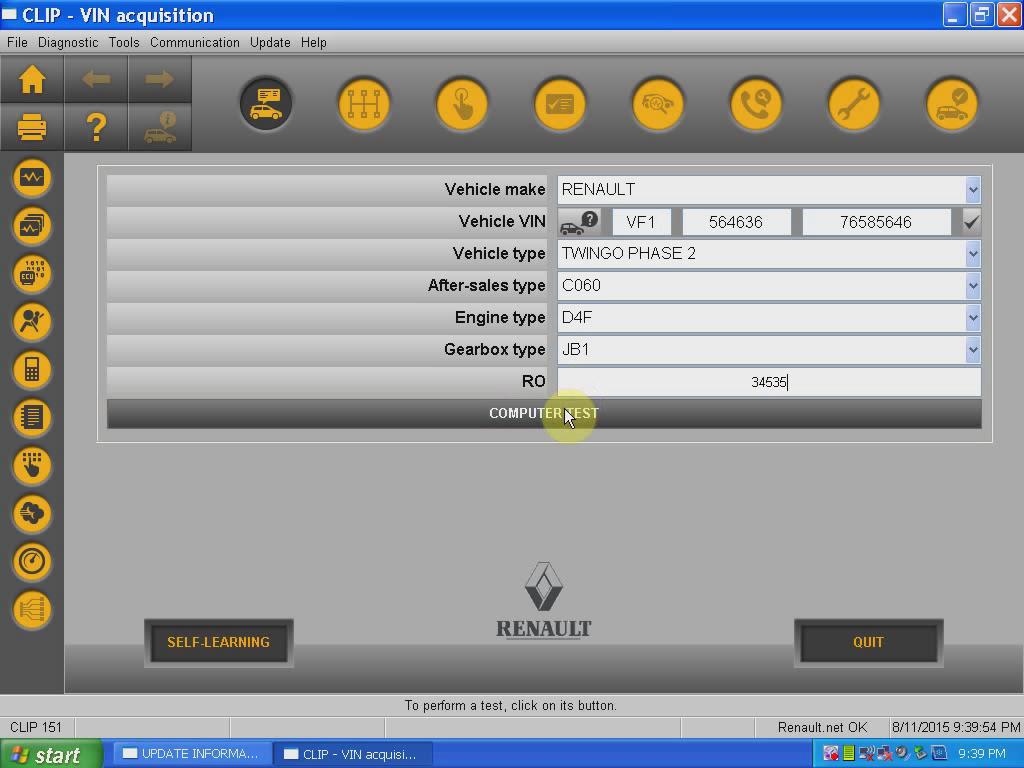
4) Computer Test
Open CLIP software on desktop
Complete vehicle information, VIN, vehicle type, Engine type etc, then click “COMPUTER TEST” button.
Unblock the windows security alert
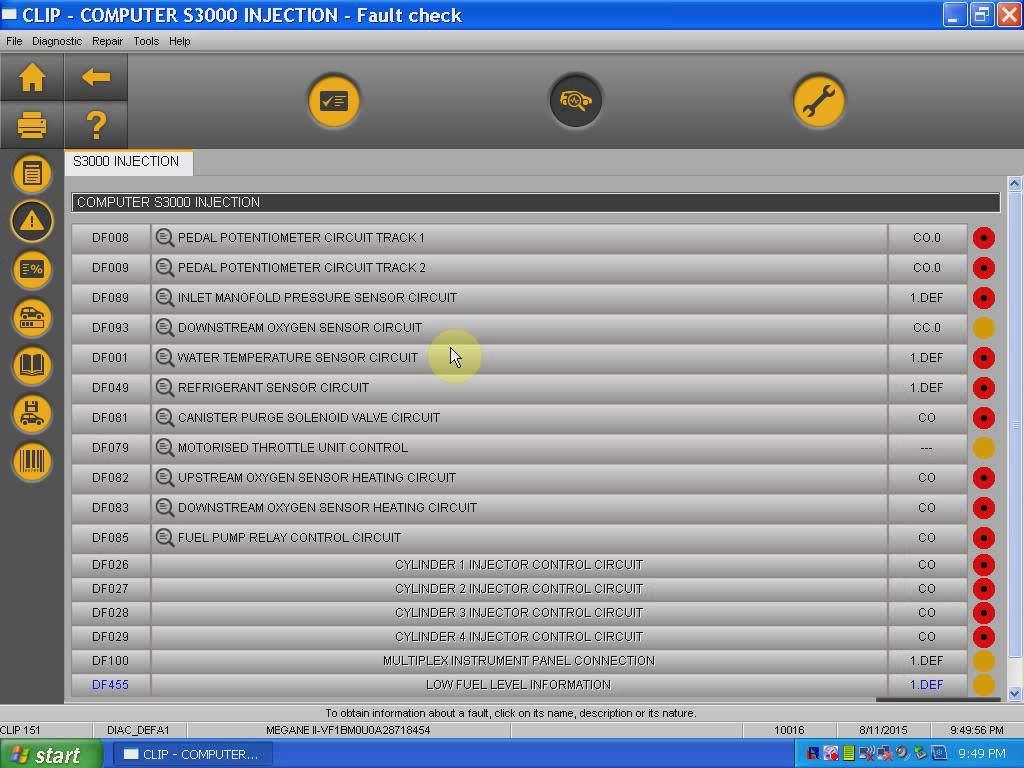
Select PETROL INJECTION
Select FAULTS TEST
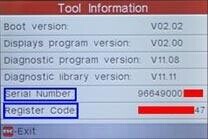
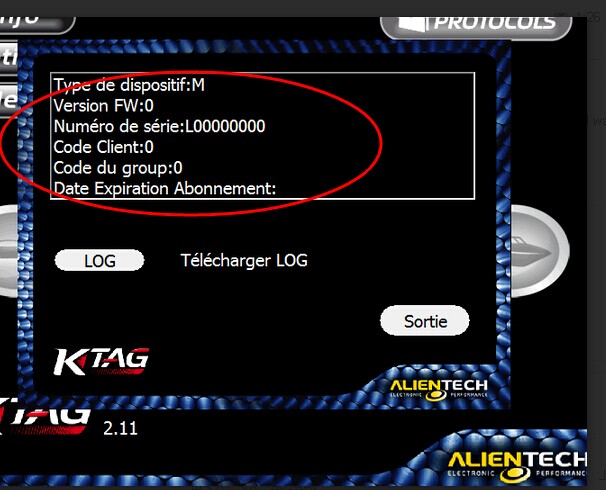
Check software information etc
Exit CLIP V151 software
5) Diagnose vehicles with Renault CLIP
Open CLIP software on desktop
Complete vehicle information
Click OK when system prompts “COMFIGURATION PROBLEM” windows
Select “Information” tab
Select valid systems, press Continue
Read & erase fault codes, continue perform other functions.
For the V151 Renault Can Clip, check: http://www.eobdii.fr/wholesale/renault-can-clip-latest-diagnostic-tool.html.