Category Archives: Programmeur de mileage

DIGIMASTER 3 CHANGED KM FROM BMW E60 35080

Look here: Digimaster 3 change mileage for BMW E60 35080

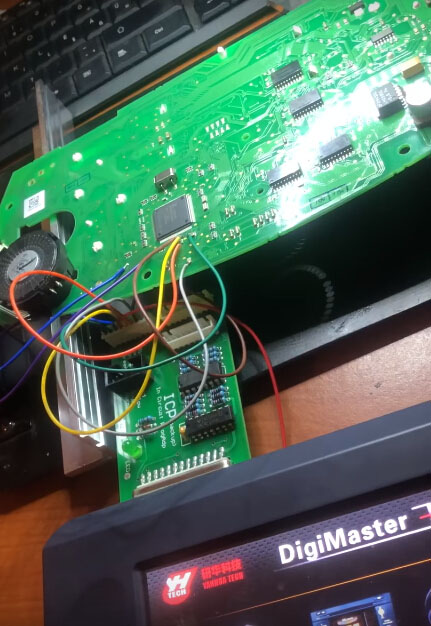
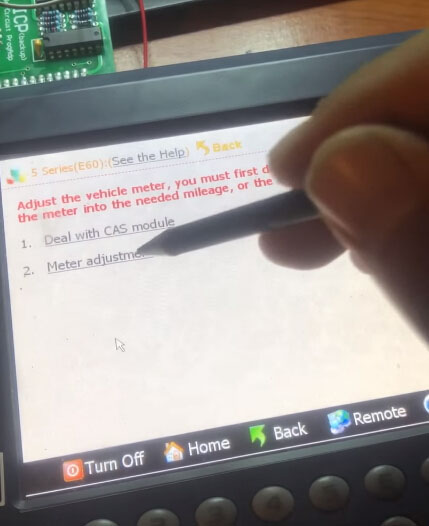
Connect Digimaster 3 to the E60 dashboard

digimaster-3-bmw-e60-e61-odometer-correction-1

digimaster-3-bmw-e60-e61-odometer-correction-2

In digimaster 3:

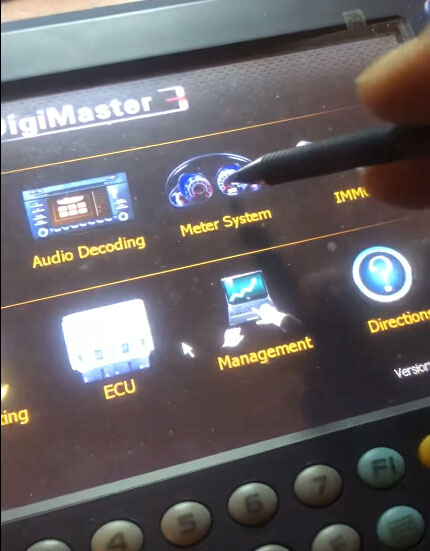
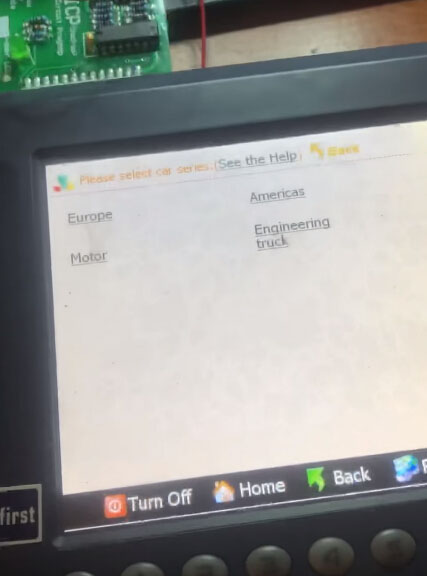
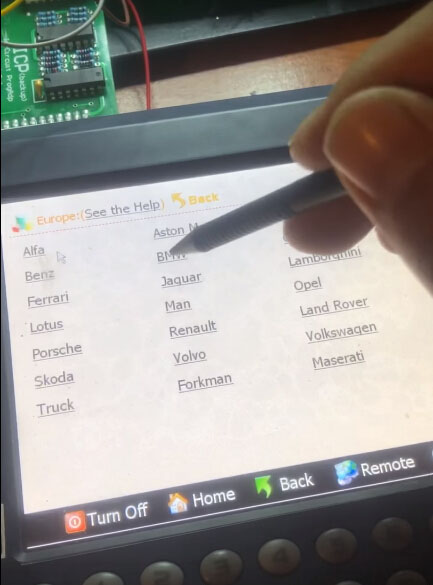
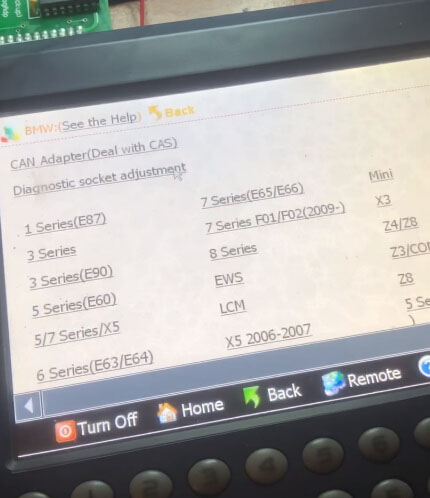
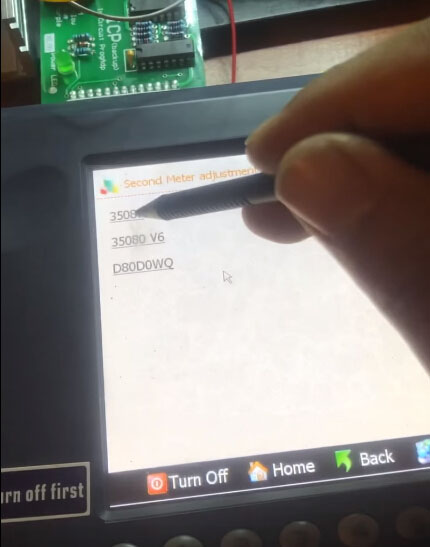
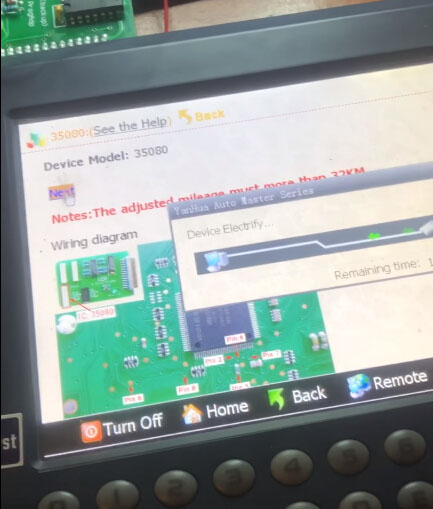
Meter system – Europe – BMW – 5 series (E60) – Meter adjustment – 35080

digimaster-3-bmw-e60-e61-odometer-correction-3

digimaster-3-bmw-e60-e61-odometer-correction-4

digimaster-3-bmw-e60-e61-odometer-correction-5

digimaster-3-bmw-e60-e61-odometer-correction-6

digimaster-3-bmw-e60-e61-odometer-correction-7

digimaster-3-bmw-e60-e61-odometer-correction-8

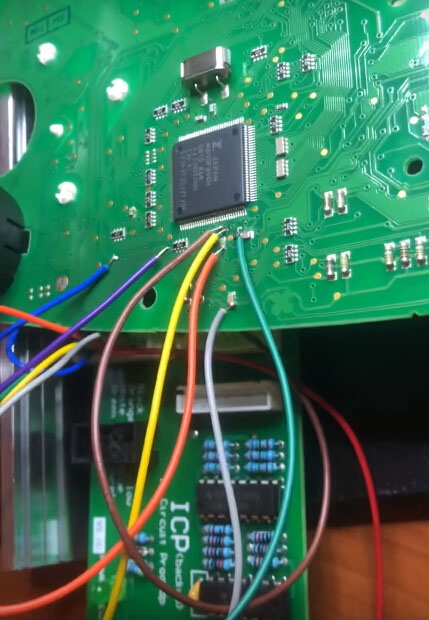
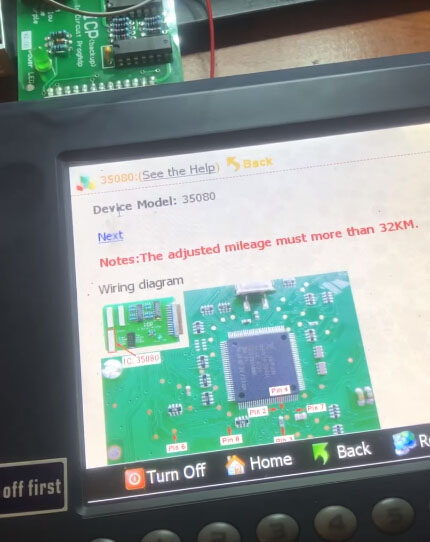
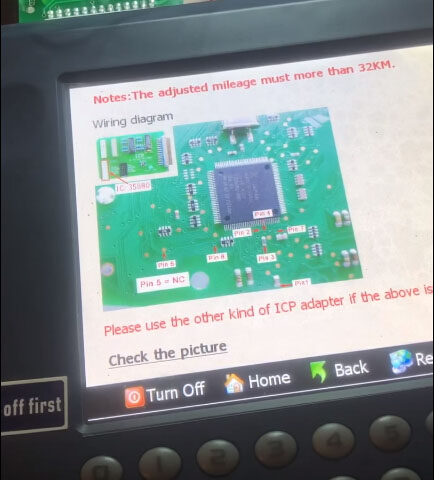
Digimaster 3 and 35080 wiring diagram

digimaster-3-bmw-e60-e61-odometer-correction-9

digimaster-3-bmw-e60-e61-odometer-correction-10

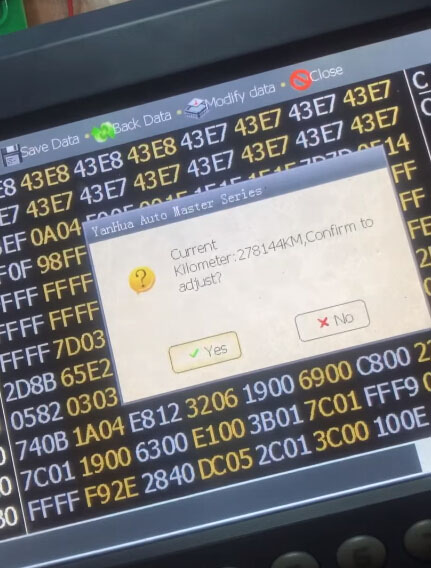
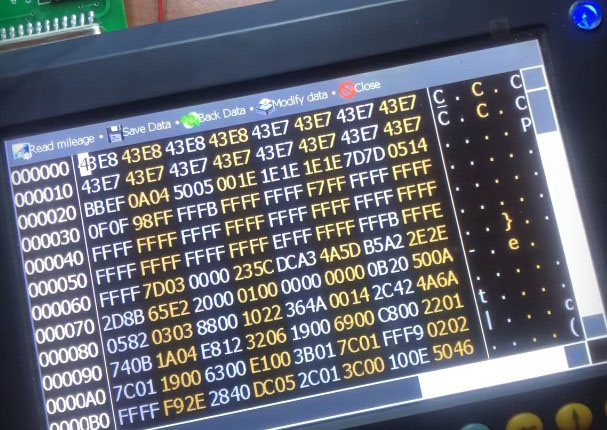
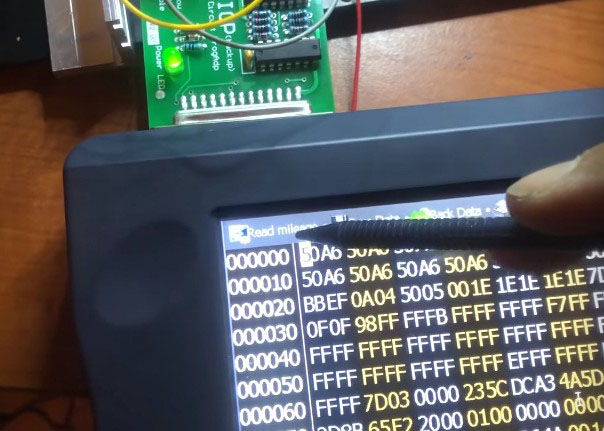
Digimaster 3 is gonna read current km: 278144km

digimaster-3-bmw-e60-e61-odometer-correction-11

digimaster-3-bmw-e60-e61-odometer-correction-12

digimaster-3-bmw-e60-e61-odometer-correction-13

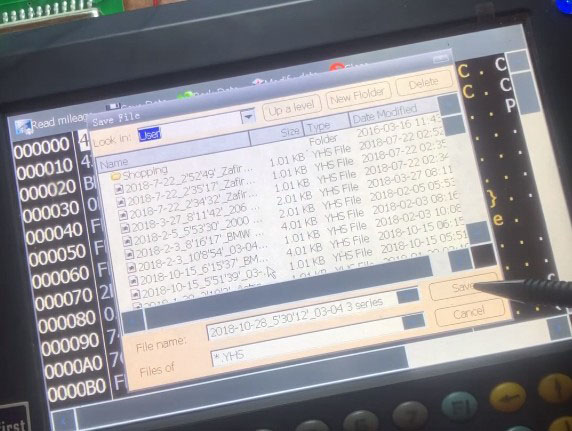
Then save data before odometer correction

digimaster-3-bmw-e60-e61-odometer-correction-14

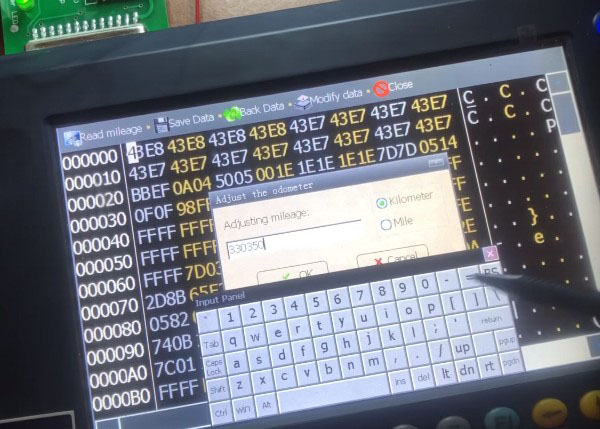
Enter new km to change: 330350

digimaster-3-bmw-e60-e61-odometer-correction-15

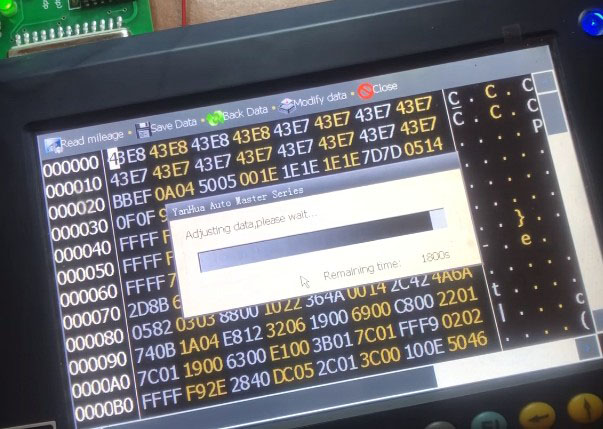
digimaster-3-bmw-e60-e61-odometer-correction-16

digimaster-3-bmw-e60-e61-odometer-correction-16

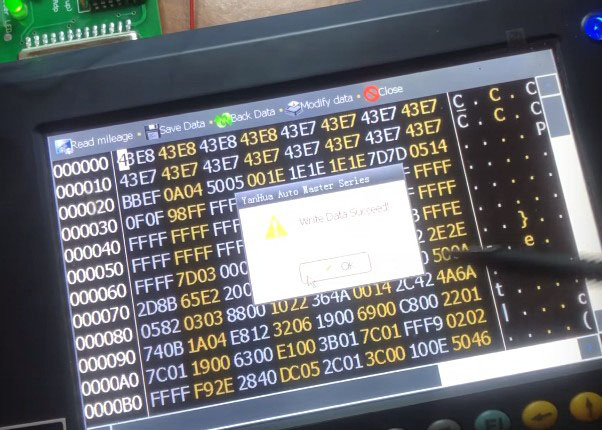
digimaster-3-bmw-e60-e61-odometer-correction-17

digimaster-3-bmw-e60-e61-odometer-correction-18

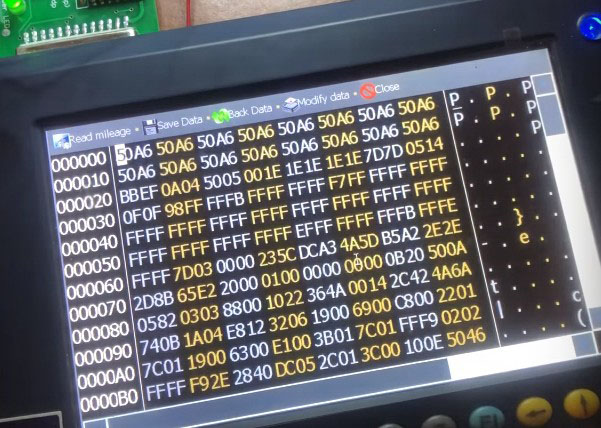
Read out the new km to make sure the correction is successful

digimaster-3-bmw-e60-e61-odometer-correction-19

digimaster-3-bmw-e60-e61-odometer-correction-20

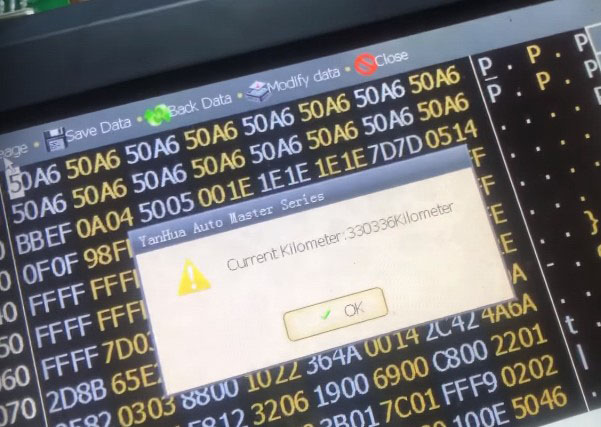
The new km now is 330336km

Success!

Yanhua 35160/35080 Programming Emulator for Mileage Correction

Yanhua 35160/35080 Programming Emulator

1.Come with an independent program which can adjust mileage directly.

2.Support the following EEPROM models:

M35080/M35080-3/M35080-6/M35080V6
/M35080VP/080DOWQ/080DOWT/160DOWQ/
160DOWT/35160WT EEPROM

Operating Instructions:

1:Chip Soldering
Solder the 35XX chip on the meter to the specified location of the simulator,
pay attention to the chip direction.

2:New folder
Add a new folder on your desktop, for example, named “mileage modification.”

3: Simulator connection
Connect the emulator to the Mini usb cable, plug in the computer usb interface,
and a USB flash drive with the name (35xxx memory) on the computer “has removable storage device” be added.

4: Decompress the modification tool
Open the (35xxx memory) U disk, copy the compressed file “35xx mileage modification tool .rar” and paste to the desktop “mileage modification” folder, and then decompress it to the current folder to get the file “35xx mileage modification tool .exe”.

5: Copy the original data to the “mileage modification” folder on the desktop .
According to the original car chip model, select the corresponding original data and copy it to the“mileage modification” folder
on the desktop.(If the original car chip is 35080, choose 35080 raw data.bin; if the original car chip is 35160, choose 35160 raw data. bin)

6: Open the mileage modification tool
Open the “mileage modification” folder, drag the original data to the modification tool or double-click to open the “35XX mileage modification tool”, drag the original data into the tool interface and press Enter to confirm.

7: Modify mileage
Enter the mileage data you want to modify as prompted (Note: please enter unit after the value like XXXkm or XXXmi), then press Enter to confirm, and the new file 35xxx raw data _yyyy.bin will be automatically generated.

8: Copy the modified data to the “35XX memory” U disk
Open the “35XX Memory” USB flash drive, delete the 35xxx simulated data .bin file of the corresponding chip (note the “simulated” data file), and then copy the 35xxx original data _yyyy.bin file generated in the “mileage modification” folder to the “35XX memory” U disk.

9: Data comparison
Re-plug the simulator, open the “35XX memory” U disk, compare the newly-generated simulated data of the corresponding chip and the modified data in the “mileage modification” folder. If the data is the same, the operation is successful. Solder the simulator to the instrument chip location.

Tip: The copied raw data.bin file is recommended to be saved to the computer, so that the data can be recovered when the operation is wrong. If the operation is abnormal, don’t be nervous, unplug the usb and plug it back to restore normal.

Xhorse VVDI Prog BMW Reviews

vvdi-prog-new-tool-1-1-620x264

Xhorse VVDI Prog BMW Reviews:

Here is o.k. and k.o. experience of VVDI Prog programmers working on BMW cars.

Tested by me: cas 2, cas 3, cas 3+, Cas4 5m48h, volvo cem v40
all ok.

Is a very good tool and for bmw cas4 .

I tested today D80 and a m35080v6, and they work perfect.

Mine erased D160 (BMW F01 dash) with no problem.

Tried to renew bmw e series 868 key. Vvdi claimed operation success but in tango key is now recognized as transponder type A. locked

I did renew 2 keys! Both worked and now ar programmed to cars!

Only thing you need to disconnect from PCB is battery while writing the renew file. (Remove the batteries)

Renew BMW series E 868 key – 100% OK z vvdi prog v4.5.7

FRM3 works perfectly

More EDC17 under ECU section would be great!
Especially BMW EDC16 and EDC17 for ISN purposes.
BMW F series FEM module reading but for that i can only dream about…

BMW BMSX bike ECU would be great…

Renew pcf7946 and 29f family

Renew E series remote with pcf7942 / pcf7944 would be fine

Unlock and download the 9S12G128 secure without erasing it first would be nice .

erasing all 35080s and d80 with soic clip would be super nice too!

I read the CAS3+ MCU with VVDI Prog and that worked perfect.

BMW FRM3 series Exx – READ and WRITE – OK
BMW KEY series Exx – OK
BMW DashBoard 6WB 160DQWT – READ , ERASE , WRITE – OK
test vvdi prog v4.5.7

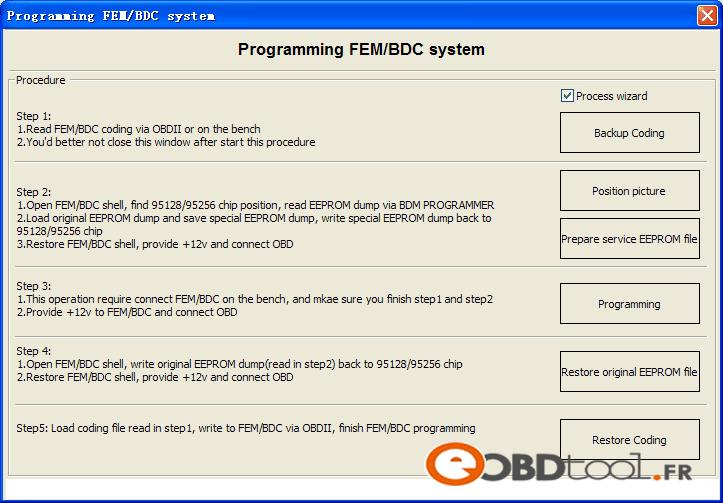
VVDI2 BMW FEM/BDC Coding/Programming Manual

vvdi2-key-programmer-1-600x264

FYI: BMW FEM/BDC Coding/Programming with VVDI2 full kit 4.3.0 .vvdi2-bmw-fem-programming-2

step 1:

read FEM/BDC coding via OBDII or on the bench
you’d better not close this window after starting this procedure
step 2:

open FEM/BDC shell, find out where the 95128/95256 chip is, read EEPROM dump via BDM programmer
load original EEPROM dump and save special EEPROM dump, write special EEPROM dump back to the 95128/95256 chip
restore FEM/BDC shell, provide -12v and connect it via OBD
step 3:

this operation requires connecting FEM/BDC on the bench, and make sure you finish step 1 ans step 2
provide +12v to FEM.BDC and connect it via OBD
step 4:

open FEM/BDC shell, write original EEPROM dump (read step 2) back to the 95128/95256 chip
restore FEM/BDC shell and connect it via OBD
step 5:

loading coding file (read step 1), write to FEM/BDC via OBDII, finish FEM/BDC programming

Attention please!!!

– You can directly backup/restore coding

– You have to pre-setup the FEM/BDC module before deleting/adding keys or resetting keys

– You’ll be told other tools need to be used first to program the FEM/BDC system, then setup FEM/BDC via VVDI2. It happens when you do FEM/BDC key learning, and you don’t have a working software version

– You’d better not close the VVDI2 interface when you pre-setup FEM/BDC

– You need do with 95128(FEM) or 95256(BDC) chip when pre-setup FEM/BDC

Note: there are two 8-pin chips; do not disassemble the wrong chip; better refer to the wiring diagram

– You must restore original EEPROM data, restore coding when pre-setup FEM/BDC. If you fail to restore coding or the remote cannot start or something wrong with the window (or other failures probably) after coding restore and FEM/BDC installation, please use other tools to do re-coding FEM/BDC

– Ask tech support @eobdii.fr for help, if the replay sounds continuously after supplying power to the FEM/BDC. Usually, it needs programming.

SKP1000 tablet key programmer User Guide

1. Product description

d1

1.1 Supported protocol:
SAE-J1850 PWM, SAE-J1850 VPW, KWP2000, ISO-9141, CANBUS, SINGLE CAN

1.2 Package Includes:
1* Main unit
1* touch pen
1* main cable
1* Honda 3pin adapter
1* Kia 20pin adapter
1* Hyundai / Kia 10pin adapter
1* Haima 7pin adapter
1* power adapter
1* TF card
1* TF card reader
1* USB cable
1* CD with user manual

2. Menu Instruction

d2

2.10 Main menu basic functions
Car functions
Choose ” Car functions” to perform immobilizer, mileage adjustment, remote controller,
Oil/service Reset, throttle body adjustment, EPB, pin code calculation, personalized settings and special function

d3

2.11 immobilizer function:
Clear key memory;
Program keys, proximity keys, smart key, flip keys;
Program after-market and OEM keys;
Read keys from immobilizer memory
New mechanical key number programming;
Vehicle identification key programming;
Reset ECU& Reset immobilizer;

d4

Choose model: Hyundai, press “Confirm” to enter.

Choose “Smart card”, press “Yes” to enter.
Choose ” by car model”, press “Yes” to enter.
Choose “SONATA 8 (with card slot), press “Yes” to enter.
Choose “Smart card (with card slot), press “Yes” to enter.
Follow the tip to turn off ignition, press “Yes”

Follow the tip to open the door and close for one time, press “Yes”.
Choose smart card to match, press “Yes”
Follow the tip, insert the smart card into the slot, and you can hear alarm sound, turn off the ignition, press “Yes”.

Input the password
Check if the password is correct, press “Yes” to confirm.
The first smart card program successfully, and it will ask you if you program the next one, press “Yes” to confirm.
Insert the second smart card into the slot, you can hear the alarm sound, press “Yes”.
Program successfully, press “No” to back.

With two new smart card keys, you could start the car, if you need to add more keys, just repeat the above steps.

4. Firmware update
Before update firmware, please take out the TF card and insert it into the card reader, then plug into the computer USB port. Double click “My Computer”, find out ” local Disk (H:), right click to choose “Format”.

d5

Tip: Tick on the “Quick format” and click “Start.
After complete format, go to the official site to download the update file, then copy and paste the file into the TF card, after finish, plug the TF card into the machine, power on the machine to the main interface.
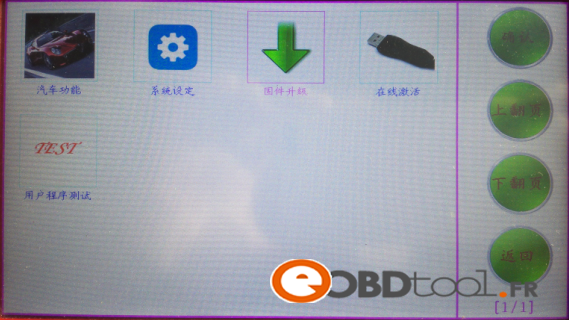
d7

Firstly choose “System firmware update”, press “Yes”, the procedure shown as below:
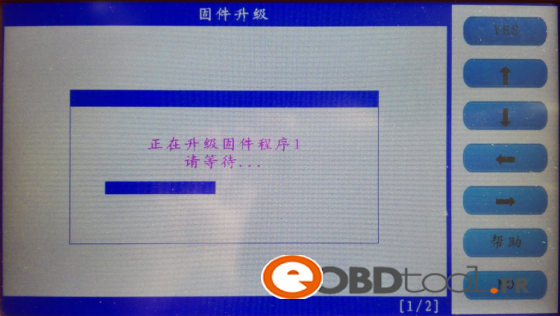
d8

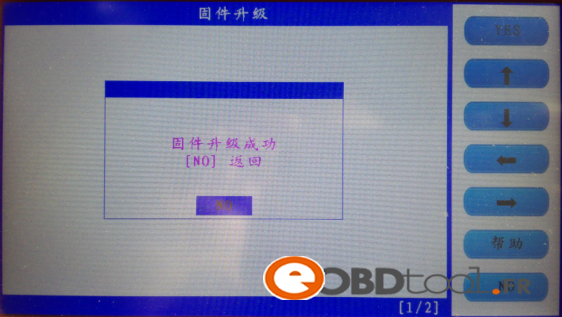
Update successfully shown as below.

d9

Press “No” to back.

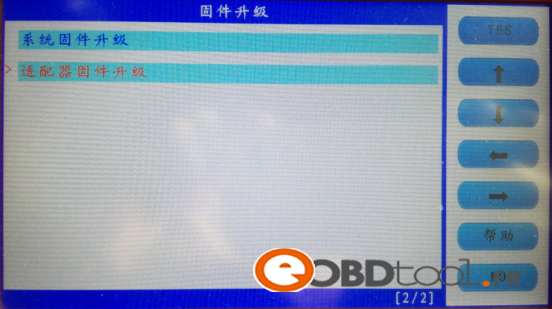
d10

Choose ” Adapter firmware update”, after finish, reboot the machine to go on use SKP1000.

Done.

Any question, please contact your supplier.

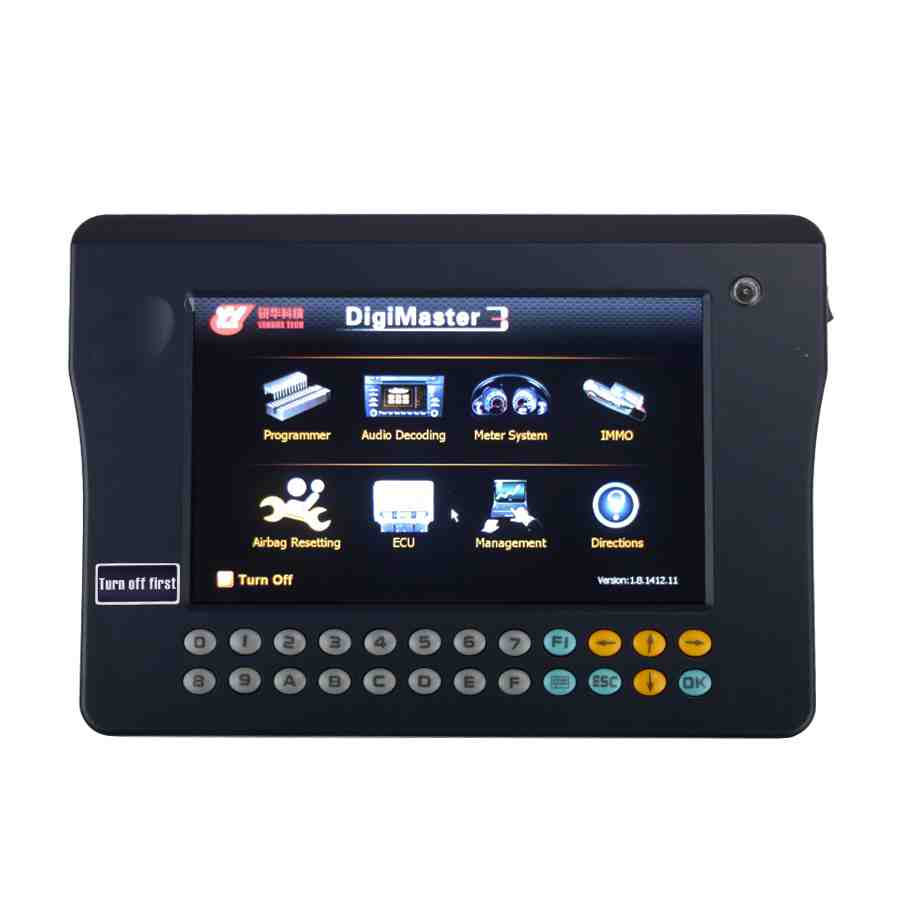
En vente Digimaster 3 V1.8.1707.21 Digimaster III Original Odometer Correction Master

En vente Digimaster 3 V1.8.1707.21 Digimaster III Original Odometer Correction Master

digimasteriii-odometer-correction-tool-master-version-1

Avantages:

New added BMW CAS+ CPU 1N35H read and write function after 2014 year.
Mise à jour: en ligne
Langue: English

Digimaster 3 (D3) includes all functions of Digiprog3 (DIGI3)!
Besides, D3 adds the Benz/BMW/Porsch key programming function.
Also D3 supports to adjust the instrument on BENZ new models via OBDII diagnostic connector directly, such as W221, W164, W251, W216, W204, W212.
Tokens: 300 times

Digimaster III Version: 1.8.1707.21 (2017-08-02):
new add car models for odometer adjustment and airbag resetting models.
New added odometer adjustment:
1. American GM Buick Regal 24C32
2. American GM Buick LaCrosse 24C32
3. American GM Buick Verano 24C32
New added airbag resetting:
1. Luxgen 28556KM120

Digimaster 3 mise a jour V1.8.1707.21 Original Odometer Correction Master Mise à jour en ligne

Digimaster 3 mise a jour V1.8.1707.21 Original Odometer Correction Master Mise à jour en ligne
Digimaster III Version: 1.8.1707.21 (2017-08-02):
new add car models for odometer adjustment and airbag resetting models.
New added odometer adjustment:
1. American GM Buick Regal 24C32
2. American GM Buick LaCrosse 24C32
3. American GM Buick Verano 24C32
New added airbag resetting:
1. Luxgen 28556KM120

Grande promotion 949euros Pour Digimaster 3 V1.8.1703.14

Digimaster 3 V1.8.1703.14 Digimaster III Original Odometer Correction

New added BMW CAS+ CPU 1N35H read and write function after 2014 year.
Mise à jour: en ligne
Langue: English

Digimaster 3 (D3) includes all functions of Digiprog3 (DIGI3)!
Besides, D3 adds the Benz/BMW/Porsch key programming function.
Also D3 supports to adjust the instrument on BENZ new models via OBDII diagnostic connector directly, such as W221, W164, W251, W216, W204, W212.
Tokens: 300 times

Digimaster III Newly Added Car Model for Airbag Resetting
Version: V1.8.1703.14
New Added car model for Airbag Resetting:
1. Ford    9M5T-14B321-CA
2. Mazda   BKC3-57K30-A
3. Mazda   KR11-57K30-B
4. Kia K3  95910-B5000
5. Hyundai 95910-B3000