Monthly Archives: November 2019

VIDENT IAUTO 702 PRO DIAGNOSTIC FUNCTIONS INTRODUCTION

This post comes with the diagnostic operations about VIDENT iAuto 702 Pro.

1.Read Codes
2.Erase Codes
3.Freeze Frame Data
4.ECU Information
5.Live Data
– Complete Data List
– Custom Data List
6.Special Function
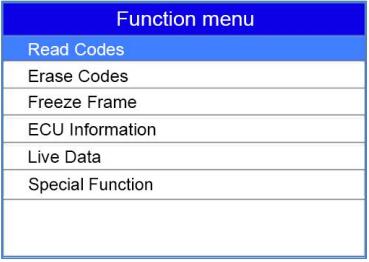
Let’s go one by one!

Part 1: Vident iAuto 702 Pro Read Codes

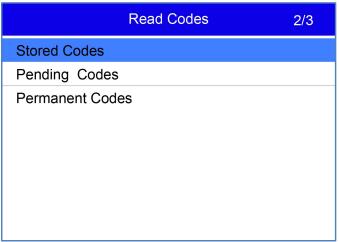
Read Codes menu lets you read trouble codes found in the control unit. Typical menu options include:

Present/Permanent/Current Codes
History Codes
Present/Permanent/Current codes stored in a control module are used to help identify the cause of a trouble or troubles with a vehicle. These codes have occurred a specific number of times and indicate a problem that requires repair.

History codes are also referred to as past codes that indicate intermittent DTCs that are not currently active.

Step 1: Select Read Codes from Function Menu and press the OK key. A code list including code number and its description displays.

Step 2: Use the up and down arrow keys to scroll through data to select lines, and left and right arrow keys to scroll back and forth through different screens of data.
Part 2: Vident iAuto 702Pro Erase Codes

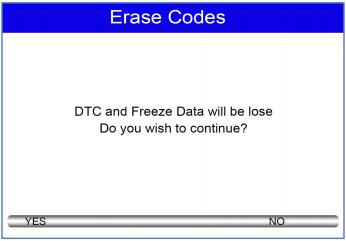
1.Erase Codes menu lets you to clear all current and stored DTCs from a selected control module. Also it erases all temporary ECU information, including freeze frame.

2.Erase Codes does not fix the problem that caused the fault! DTCs should only be erased after correcting the condition(s) that caused them.

Steps: Select Erase Codes from Function Menu and press the OK key. Follow the on-screen instructions to complete the procedure.
Part 3: Vident iAuto702 Pro Freeze Frame Data

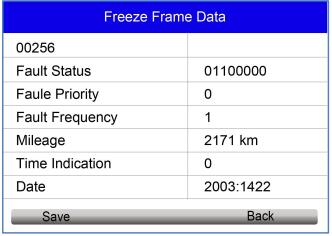
Freeze Frame Data menu displays freeze frame data, a snapshot of critical vehicle operating conditions automatically recorded by the on-board computer at the time of the DTC set. It is a good function to help determine what caused the fault.
Part 4: Vident iAuto 702 Pro ECU Information

ECU Information screen displays the identification data of the control module under test, such as the control module identification string and the control module coding. 1. Select ECU Information from the menu and press the OK key. 2. A screen with detailed information of the selected control module displays.

Part 5: Vident iAuto 702 Pro Live Data

Live Data menu lets you view and record real time PID data from a selected vehicle electronic control module.

Menu options typically include:

Complete Data List
Custom Data List
1.Complete Data List

Complete Data List menu lets you view all live PID data from a selected system.
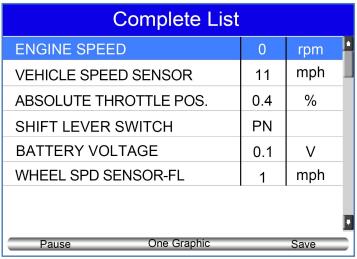
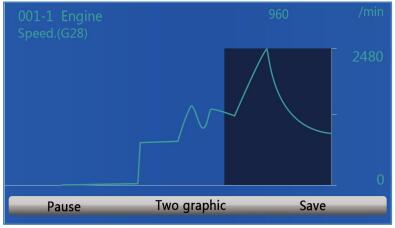
Step 1: Scroll with the up and down arrow keys to highlight a line, if the One Graphic on the bottom is highlighted, it indicates graphing is available for the selected line. Press the function key One Graphic to display the PID graph.
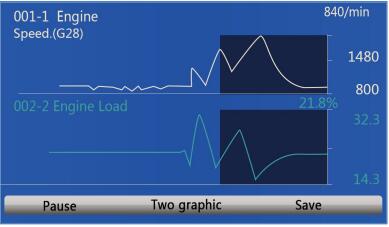
Step 2: Press the function key Two Graphics to display two PID graphs in one screen
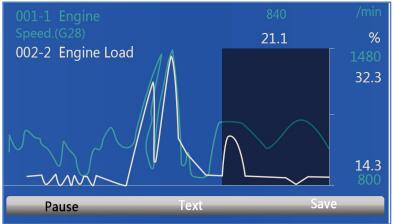
Step 3: Press the function key Merge Graph to display two PID plots in one coordinate for easy and intuitive diagnosis
Step 4: To record the data to memory of the scan tool, use the function key SAVE, and press Stop Saving to stop recording at any time.

Step 5: Press Text to return to text viewing of PID data

Step 6: Select Pause to suspend collecting data from the scan tool and use the Start key to resume

collecting data

Step 7: Press the ECS key to return to the previous menu

2.Custom Data List

Custom Data List menu lets you to minimize the number of PIDs on the data list and focus on any suspicious or symptom-specific data parameters.

Step 1: Select Custom List from the menu and press the OK key. The custom data stream selection screen displays. Scroll with the up and down arrow keys to highlight a line, press the OK key and then repeat the action to make more selections.
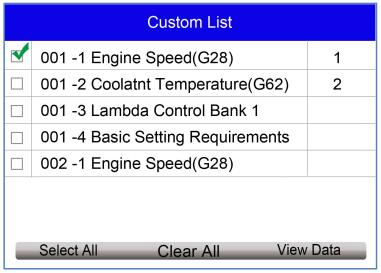
Step 2: When finished selection, use the function key VIEW DATA to display selected items.

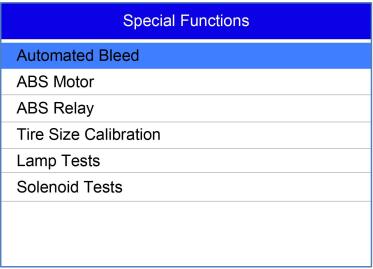
Part 6: Vident iAuto702 Pro Special Functions(&Active Test)

The Active Test function is used to access vehicle-specific subsystem and component tests. Available tests vary depending on the manufacturer, year and model, and only the available tests display in the menu.

During an active test, the tester outputs commands to the ECU in order to drive the actuators. This test determines the integrity of the system or parts by reading the engine ECU data, or by monitoring the operation of the actuators, such as switching a solenoid, relay, or switch, between two operating states.

Selecting Active Test opens a menu of test options that varies by make and model. Selecting a menu option activates the test. Follow all screen instructions while performing tests. The content and pattern of the on-screen information vary according to the type of test being performed. Some toggle and variable control tests display Active Test Controls at the top of the screen with data stream information below, or vice versa.

Step 1: Choose the electronic control module, such as ABS.
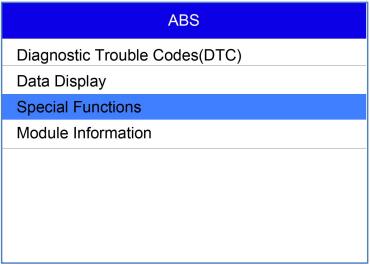
Step 2: Enter Special Functions
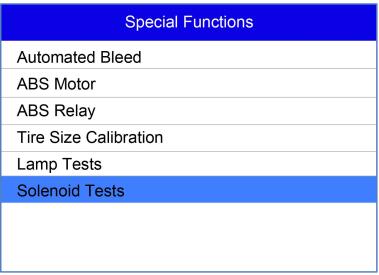
Step 3: Choose available active test such as Solenoid Tests
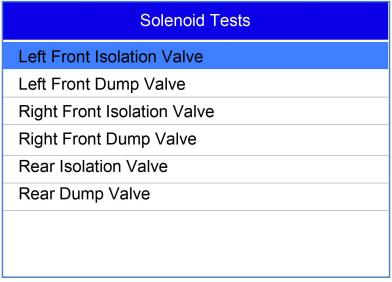
Also this special function is designed to provide you with quick access to the vehicle systems for various scheduled service and maintenance performances. The typical operation screen is a series of menu driven executive commands. By following the on-screen instructions to select appropriate execution options, enter correct values or data, and perform necessary actions, the system will guide you through the complete performance for various service operations.
2019 Best Regeneration Tool for Mercedes Diesel

VXDIAG for XENTRY diagnosis VCI is not only a professional diagnostic tool for Mercedes -Benz, but also a good Diesel Particulate Filter regeneration tool working with original XENTRY software. This article will highlight the DPF regeneration function for Star C6.

Why do you need a Star C6 for Mercedes-Benz Diesel?

VXDIAG for XENTRY Diagnosis VCI acts as a Pass-through interface, also called Star C6. It is the latest interface for For Mercedes & SMART vehicles can replace Star C4/C5. With the DPF regeneration function in this diagnostic tool, it can solve the problem of grey particles blocking filter, avoid replacing the new one.

Besides that, it will save money & time and use easily, just operate follow the prompts step by step on the software.

You can save approximately US$1,000.00 to be regenerated by the 4S car dealership. In addition, this function can only be done on the original computer, other OBD2 scanners which are about US$1,000.00 on the market are also impossible to support. Even if the scanner could issue regeneration commands, it wouldn’t be able to complete this process and re-test the exhaust data.

How to use VXDIAG multi diagnostic tool for Benz Diesel?

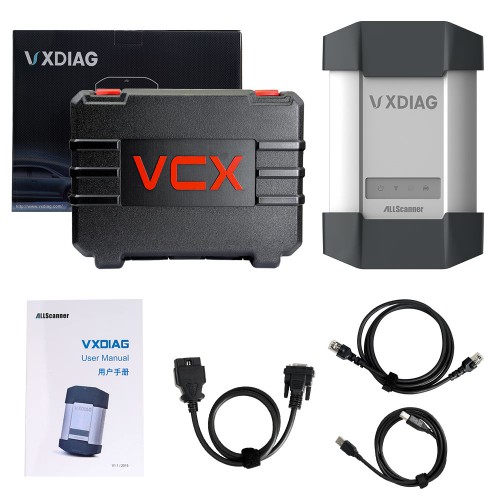
Tools Need

Procedure:

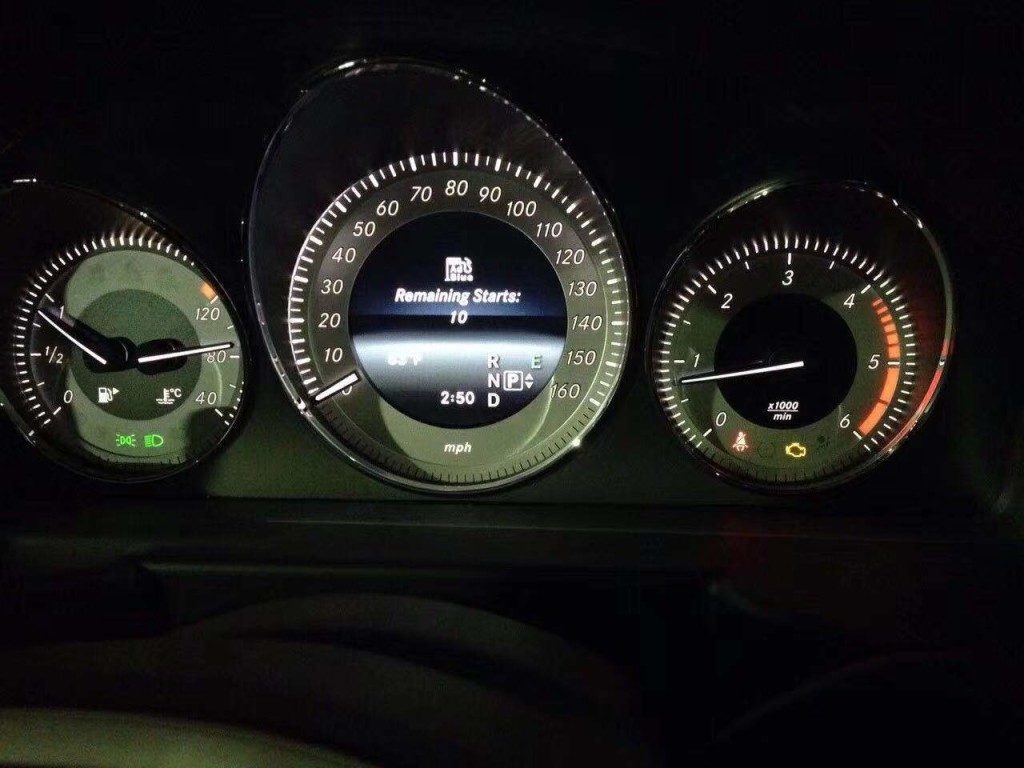
This is the current Mercedes-Benz car status

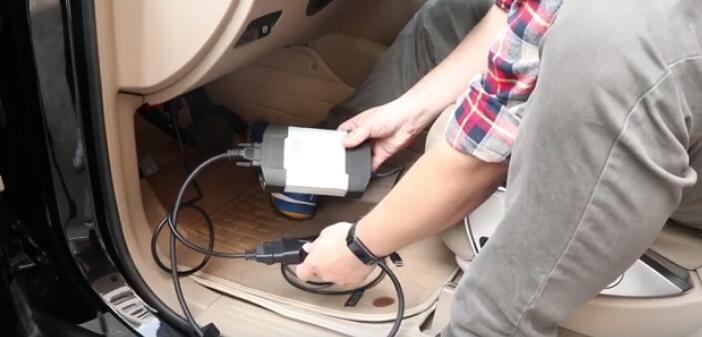
Connect Star C6 to the car OBD interface

The indicator lights up means the connection has been successfully connected

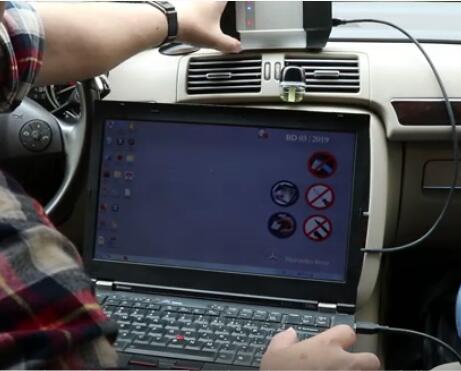
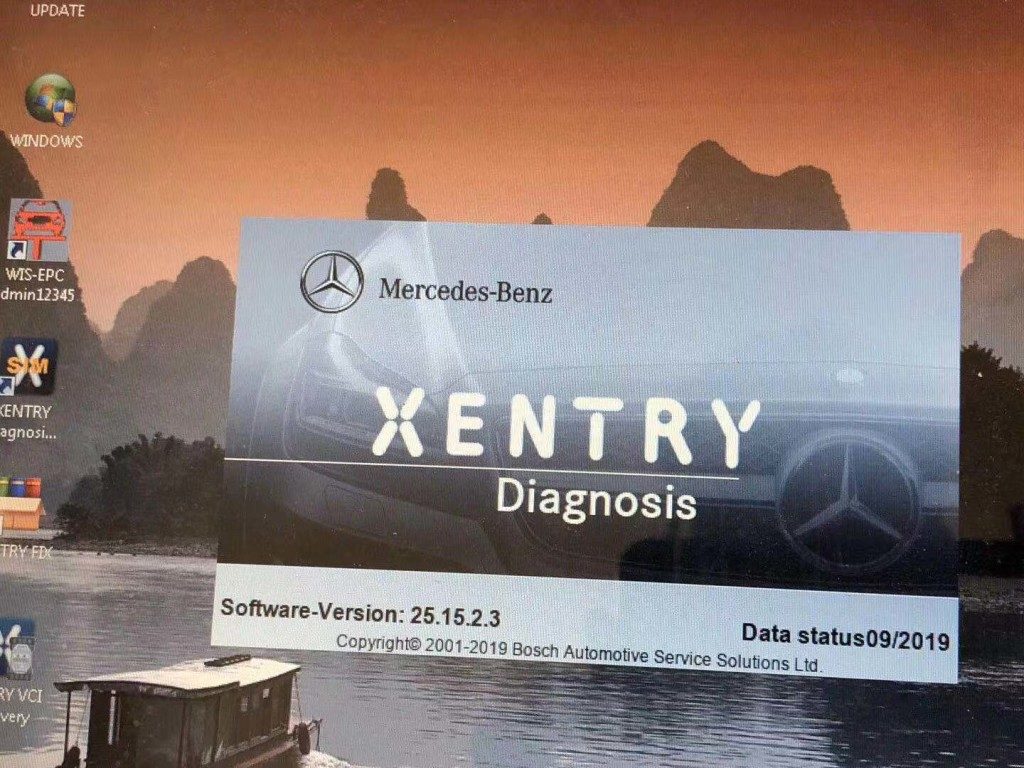
Open the XENTRY software and select car model

Quick test automatically

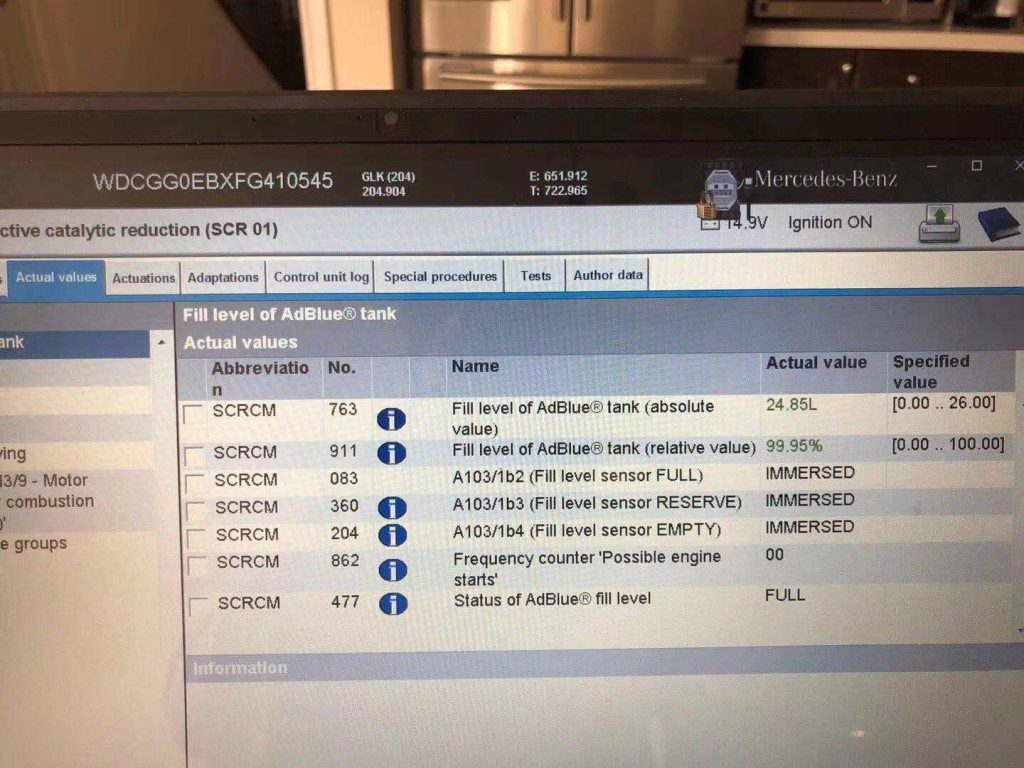
Click on “Actual values” to show data

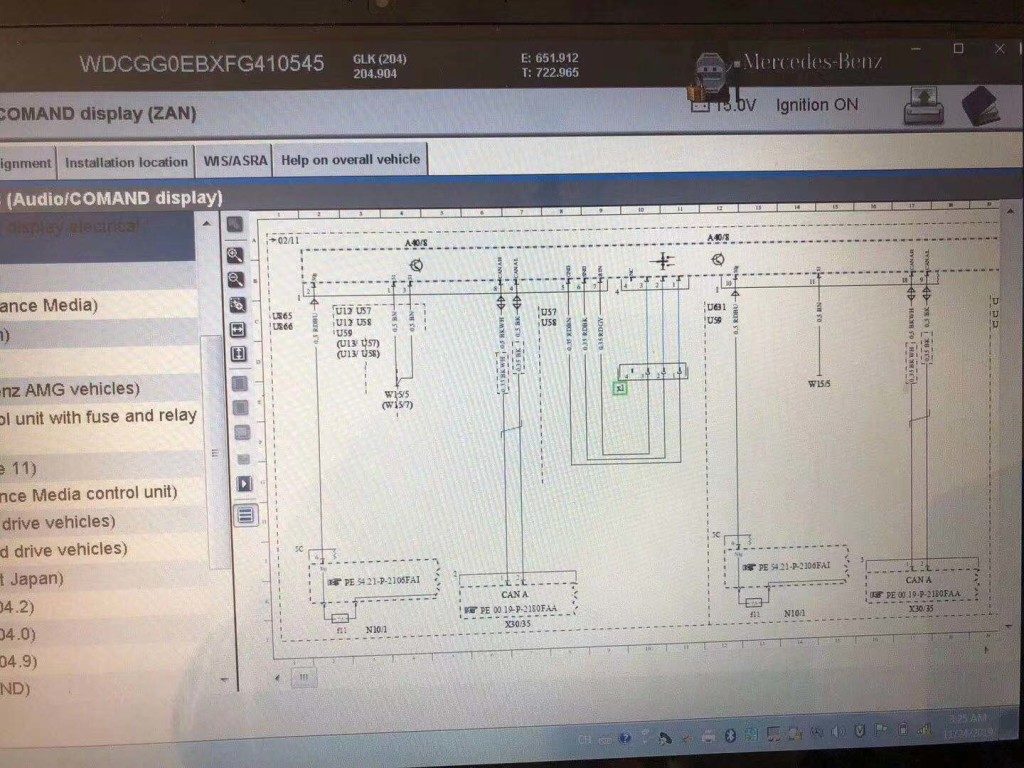
Audio/ Command display

Then follow the prompts on the screen to operate

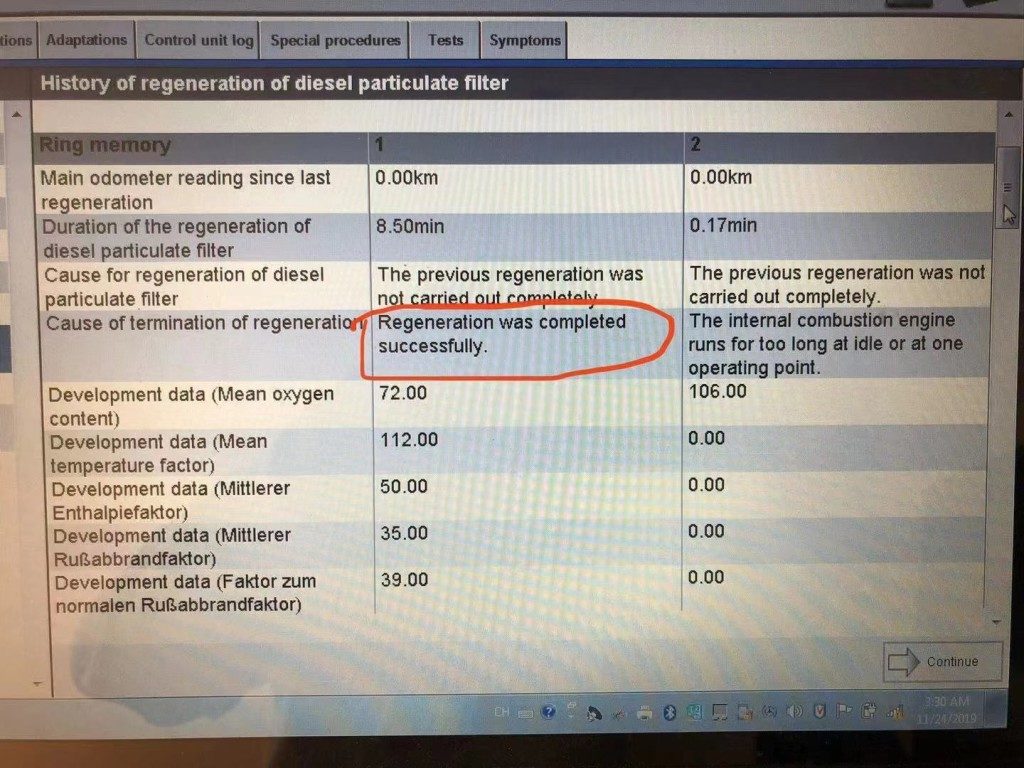
Important! When finish regenerating, it will show “Regeneration was completed successfully”

Quick Reference Guide for Autel MaxiPro MP808K

Quick Reference Guide for Autel MaxiPro MP808K

There are four steps to show how to use Autel MaxiPro MP808K

Firstly, Scan QR Code to visit our website at www.autel.com.
Create an Autel ID and register the product with device’s SN and password.

Second,Long press the Lock/Power button to turn on the Diagnostic Tablet.
Connect the main cable’s female adapter to the Diagnostic Tablet and tighten the captive screws.

Third,Connect the main cable’s 16-pin male adapter to the vehicle’s DLC, which is generally located under the vehicle dash.
Tighten the captive screws.

Forth,Your Diagnostic Tablet is now ready for use as a diagnostic device.

Software Update

Tap the Update application button from the Diagnostics Job Menu and the Update screen displays.

Check all available updates: a) if you want to update all the items, tap the Update All button; b) if you want to update one
or some of the items, tap the Update button on the right column of the specific item(s).

Tap Pause to suspend the updating process. Tap Continue to resume.

When the updating process is completed, the software will be installed automatically. The previous version will be replaced.

Wireless Data Printing

Print via PC

Run the MaxiSys Printer on the computer which is installed after the installation of Maxi PC Suite.

Click Test Print to make sure the printer is working successfully.

Tap Print on the toolbar of the Diagnotisc Tablet. A temporary document will be created and sent to the computer.

If the Auto Print option in the MaxiSys Printer is selected, the MaxiSys Printer will print the received document automatically.

If the Auto Print option is not selected, click Open PDF File to view all the temporary files. Select the file(s) you want to
print and click Print.

Print via APP


If a Wi-Fi printer is available, please purchase a Wi-Fi printer APP and install it onto your Diagnostic Tablet. By a simple click
on the Print button of a saved file on the Diagnostic Tablet, the file will be printed automatically

AUTEK IKEY820 Guide for Update and Active

1 What you need
1)Autek Ikey 820 device
2)PC with Win10/Win8/Win7/XP
3)USB cable
2 Install update tool on your PC
If the update tool “Autek Ikey 820 Update Tool V1.2” is already installed on your PC before, just skip this chapter. If not, you need to install it. If you do not have the setup file, please ask your distributor for it.

The Update Tool short icon
setup file of the update tool

Double click the setup file to start installing the update tool

update tool setup start window

Click ‘Next’ until the finish window, and click finish button to end the install program. There will be a shortcut icon on the desktop
Autek Ikey 820 Update Tool contains three parts including UPDATE, ACTIVATE and MESSAGE from top to bottom.

update tool setup finish window
Autek Ikey 820 Update Tool window

3 Update
Take the following steps to update Autek Ikey 820 device:
1)Connect device to PC through USB cable;
2)Open Autek Ikey 820 Update Tool in your PC that needs to be on internet;
3)Select the device in list and input the SN (usually completed automatically);
4)Click UPDATE button to start updating, wait until the updating completed.
There is something you need to notice in each step.
1)The device should display “USB SD DISK MODE” when connected to PC through USB cable, if not, please unplug the USB cable and plug again. Do not unplug the USB cable or exit from USB SD DISK MODE.
2)If Autek Ikey 820 Update Tool is not installed, please install it first, see detail in chapter 2.
3)The DISK and SN should display automatically if the device is connected to PC. If the DISK has no device to select, please unplug the USB cable and plug again. If the DISK has been selected, but SN is empty, please unplug the USB cable and plug again. If it’s still the same, please input SN yourself. The SN should start with “A-”.
4)It may take several minutes to update, it depends on the speed of your internet.
If there is any problem, it will display on message area, check according to the message and try again.
Here are the pages for updating. The SN is just an example, you should use your own SN.

wait until update successfully
Update successfully

4 Activate
Activation means add tokens to your device. If your device runs out of tokens or you want to increase the number of tokens in your device, you can use Autek Ikey 820 Update Tool to increase tokens.
Take the following steps to activate Autek Ikey 820 device:
1)Supply power to the Autek Ikey 820 device through USB/12V DC adapter/OBD.
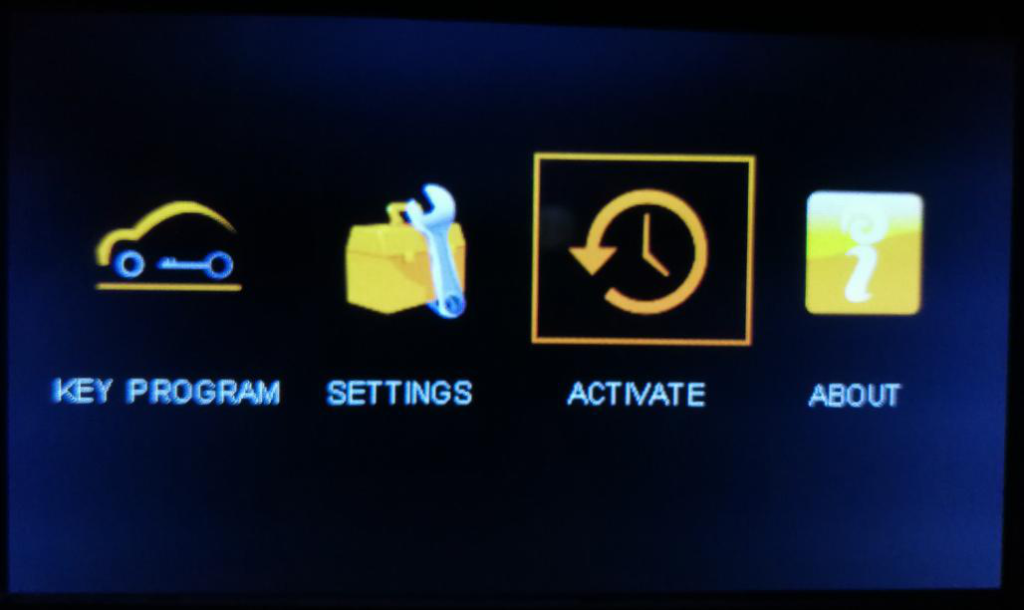
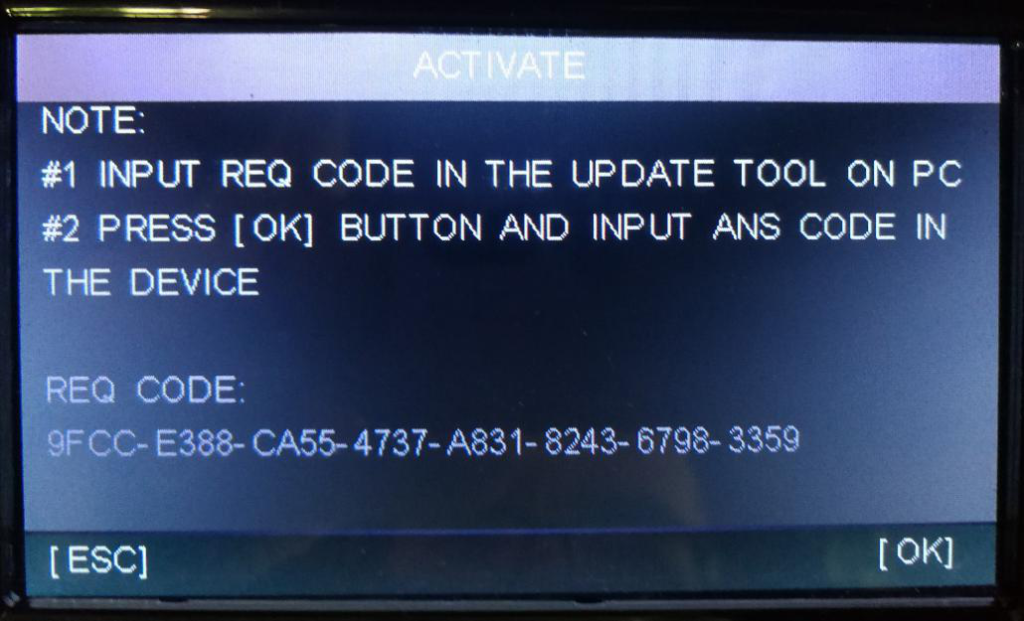
2)Go to the ACTIVATE menu, you will see a page with steps to activate your device and the REQ CODE which is need in Autek Ikey 820 Update Tool to get the ANS CODE.
3)Open Autek Ikey 820 Update Tool in your PC.
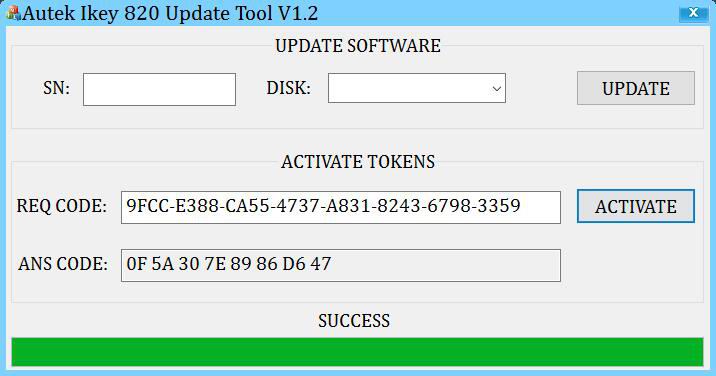
4)Input the REQ CODE to the Autek Ikey 820 Update Tool and click ACTIVATE button, then you will get the ANS CODE
5)Press OK button on the device and there display the page to input ANS CODE.
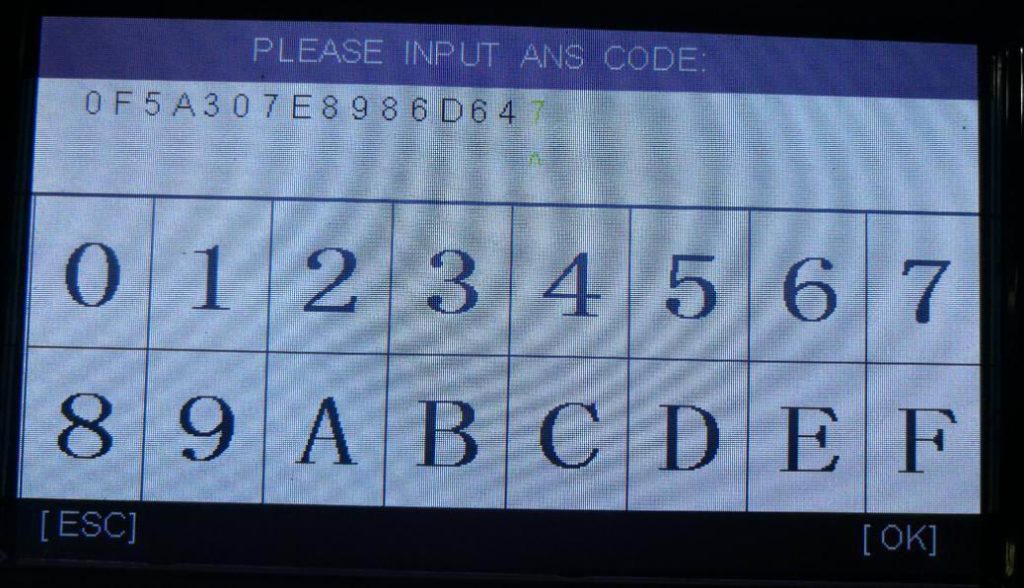
6)Input the ANS CODE you get in the Autek Ikey 820 Update Tool. There are two different
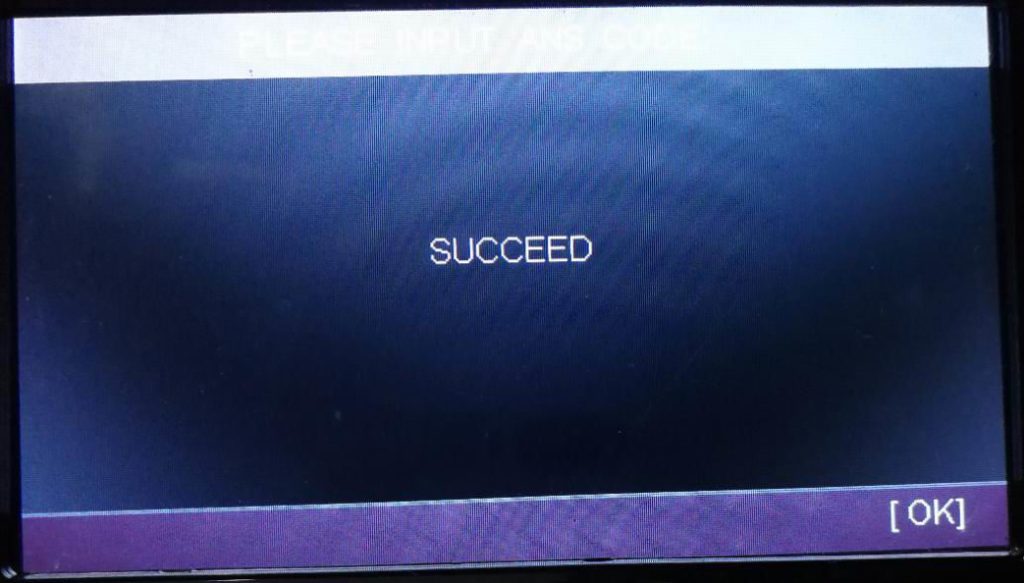
7)Press OK button and the page will show the result, SUCCESS or FAILED.
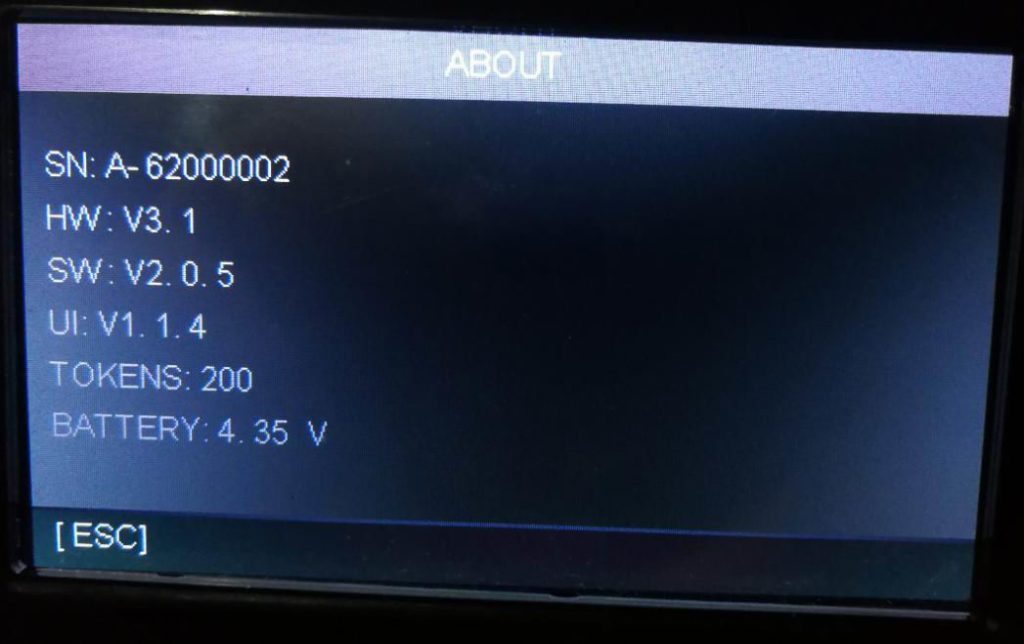
8)You can check your tokens in the ABOUT menu if you activate your device successfully.
Here are the pictures to activate the device. All the SN、REQ CODE and ANS CODE are examples, just ignore them.

Select the ACTIVATE menu
The ACTIVATE page
Open Autek Ikey 820 Update Tool and input the REQ CODE
Get the ANS CODE
Input the ANS CODE
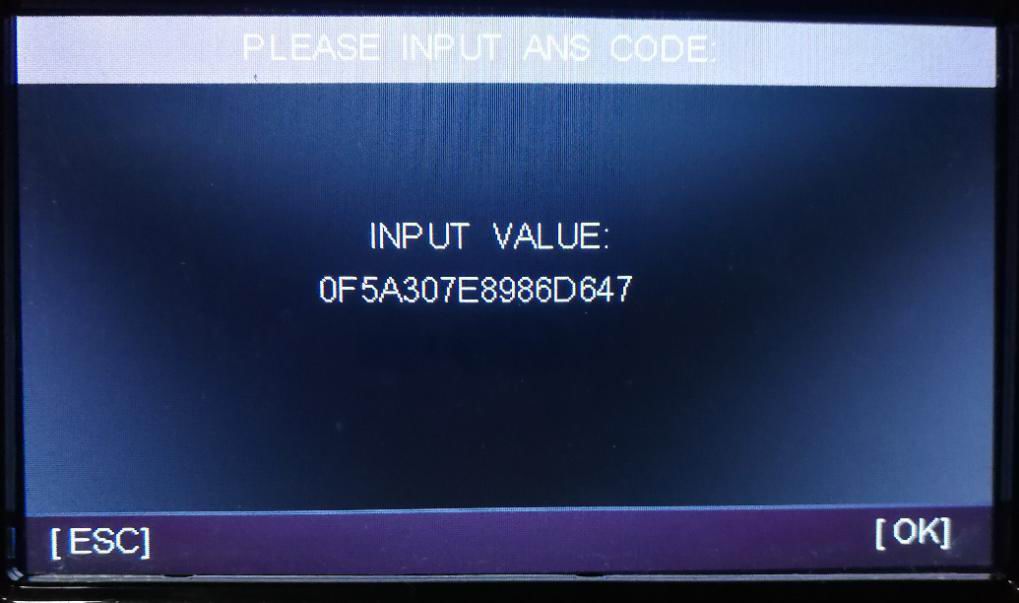
Confirm the ANS CODE you input
The result page, SUCCEED means activate successfully
Check the tokens in ABOUT page