Using BMW ICOM A2+b+c to program BMW F-Series chassis models
* Programming Control Unit
* Set Code Control unit
Control unit measures can be selected as follows:
* Click on the control unit under the tab “Control Unit Tree”
* Under the “TAB Edit Control unit”, either by direct selection or by clicking on the control unit.
Menu “Programming”
To execute the vehicle programming/setting code, do the following:
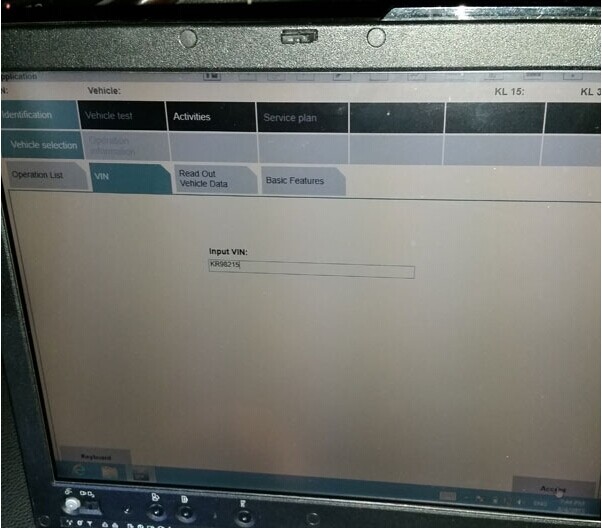
* Use ista/p to read vehicle data.
After you create a new dialog, display the tips for “dialog preparation”
* Follow the tips, record when necessary, confirm button “OK”
Show the dialog box “whether the control unit has been replaced”
* Confirm button “No”, exceptions see “replace (update) control unit”
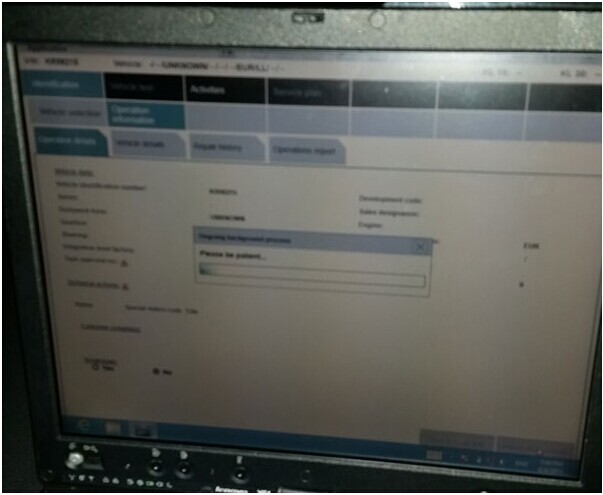
Establish a connection with the vehicle:
The vehicle details are displayed after the specified associated environment has been successfully identified. Displayed under Menu “Programming”.
1 Menu “Programming”
2 Integration Level (actual), showing the vehicle’s current integration level
3 Open code status, used in vehicles or necessary opening code status
4 progress bar, showing the process of determining the action plan
5 final processing, showing ProgMan or ista/p version, through which the vehicle is finally processed.
6 Integration Level (factory), showing the integration level of vehicle production
7 Tab “Vehicle Details”
Tip: If there is no action for the specified associated environment, the button “Confirm Action plan” is not activated.
tab “Control Unit Tree”:
The control unit tree according to the topological structure, the image displays the control unit which the vehicle installs. Each control unit is displayed with the corresponding bus connection. The combined control unit is displayed in a light blue area.
1 Menu “Programming” 2 Tab “control Unit Tree”
3 Button “Choose the total set code”,
Vehicle Total Setting Code selected
4 Button “Cancel action”, the measures determined in the associated environment are deleted
Tip: You can directly perform measures that are not affected by the integration level (such as hard drive upgrades) without writing to the integration level. “Cancel action” on this confirmation button. Delete all measures determined by the associated environment. Integrated level-related control unit measures may not be selected manually.
tab “Edit Control Unit”:
1 tab “Plan processing”
2 programming, programming the control unit
3 Code, set code for control unit
4 replacement, replacement (update) control unit
5 replacement post-processing, subsequent processing of replaced (updated) control units
The measures available to the control unit are different. Depending on what measures are defined, the control unit may vary.
Select the control unit and the screenshot after the” tabs action” list:
1 Tab “Action list”
2 Icon “Measure failed”
3 icon “Action Missing Prerequisites” 4 Icon “Warning”
5 icon “measure Success” 6 Icon “measures in progress”
7 Icon “Planned software measures” (for example, set code)
8 icon “Planned hardware measures”
Select the tab “action list” to display planned measures that include the appropriate status.
Select the control unit, the screenshot after the TAB “control unit Information”:
1 Menu “Programming”
2 Tab “Action list”
3 button “Determine Action plan”
The “action list” is a summary of the form of the planned action table. These measures are also shown in the “Action plan”. Also displays hints about the control unit (for example, the control unit is not programmable).
Menu “Vehicle”:
By switching to the menu “vehicle” You can add the following measures to the plan:
* Modification and retrofitting, see “refitting and retrofitting”
* Vehicle operation (HDD upgrade, see “Upgrading Navigation System Map data”).
xt-transform:none;font-style:normal;font-size:9.5000pt;mso-font-kerning:0.0000pt;background:rgb(255,255,255);mso-shading:rgb(255,255,255);” > after the TAB “control unit Information”:
1 tab “Refit” to show available modifications and retrofitting
2 Tab “Vehicle operation”:
* Upgrade navigation system map data (HDD upgrades)
* Input Vehicle Task
* Select the total set code
3 Menu “Vehicle”
To select other measures (programming, setting code), switch back to menu “programming”.
:none;font-style:normal;font-size:9.5000pt;mso-font-kerning:0.0000pt;background:rgb(255,255,255);mso-shading:rgb(255,255,255);” >* Modification and retrofitting, see “refitting and retrofitting”
* Vehicle operation (HDD upgrade, see “Upgrading Navigation System Map data”).
xt-transform:none;font-style:normal;font-size:9.5000pt;mso-font-kerning:0.0000pt;background:rgb(255,255,255);mso-shading:rgb(255,255,255);” > after the TAB “control unit Information”: